- Details
- Written by Josh Baakko
- Category: Hints and Tips to aid Modeling Projects
- Hits: 9385
Contact Cleaner and Dirty Track
This article, is intended for the "clean track" gurus. My intention here is to say, "Keep it dirty!" Why, read on! Don't be scared of black buildup.
- Details
- Written by Dave Allen
- Category: Hints and Tips to aid Modeling Projects
- Hits: 2391
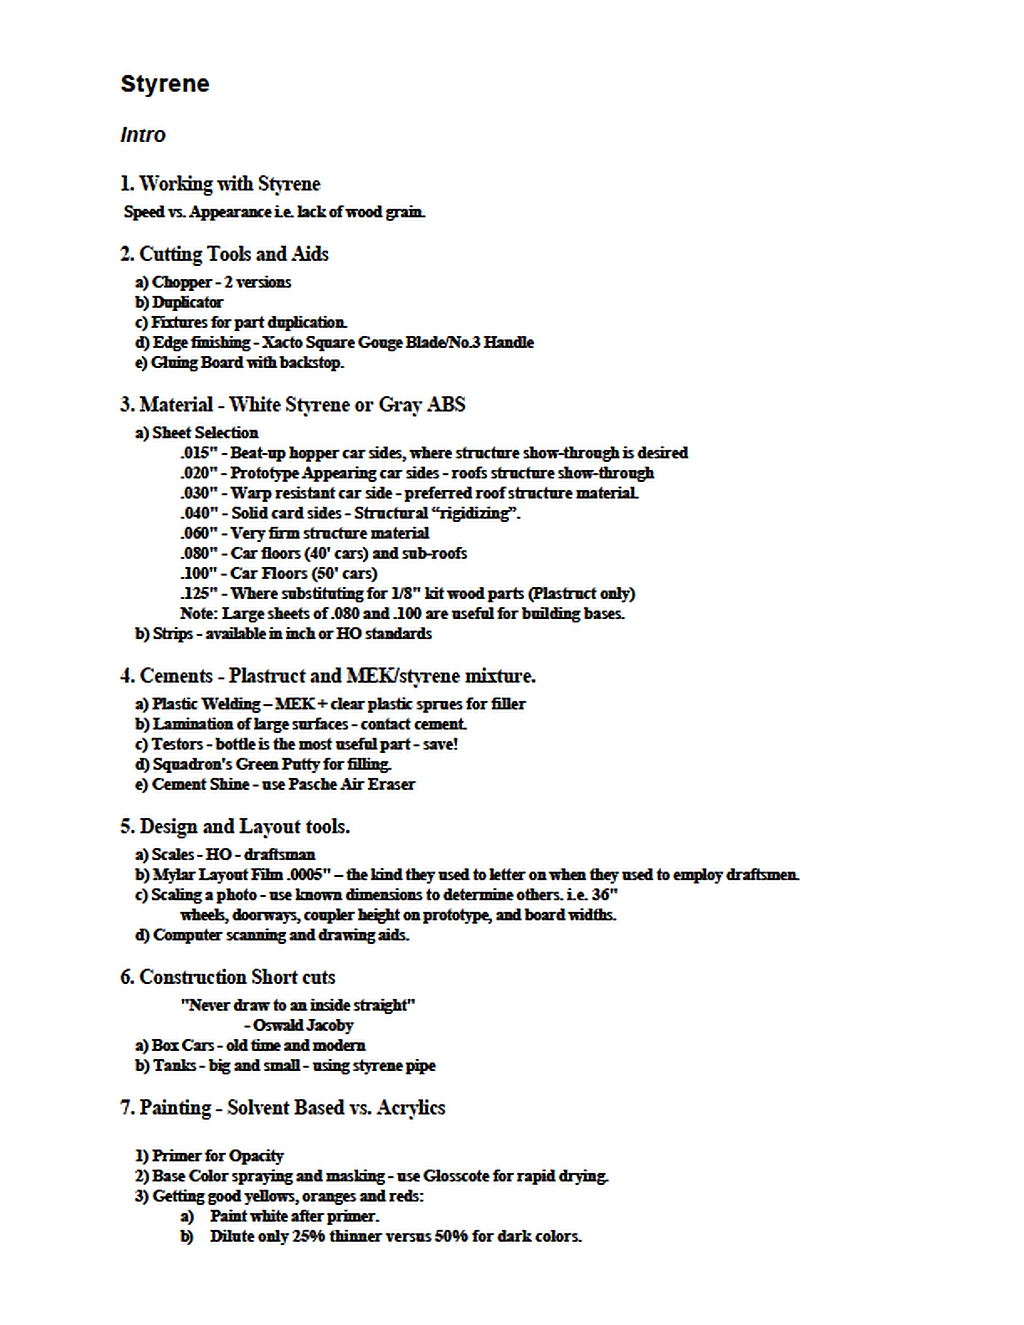
Styrene for Modelers
- Details
- Written by Josh Baakko
- Category: Hints and Tips to aid Modeling Projects
- Hits: 7985
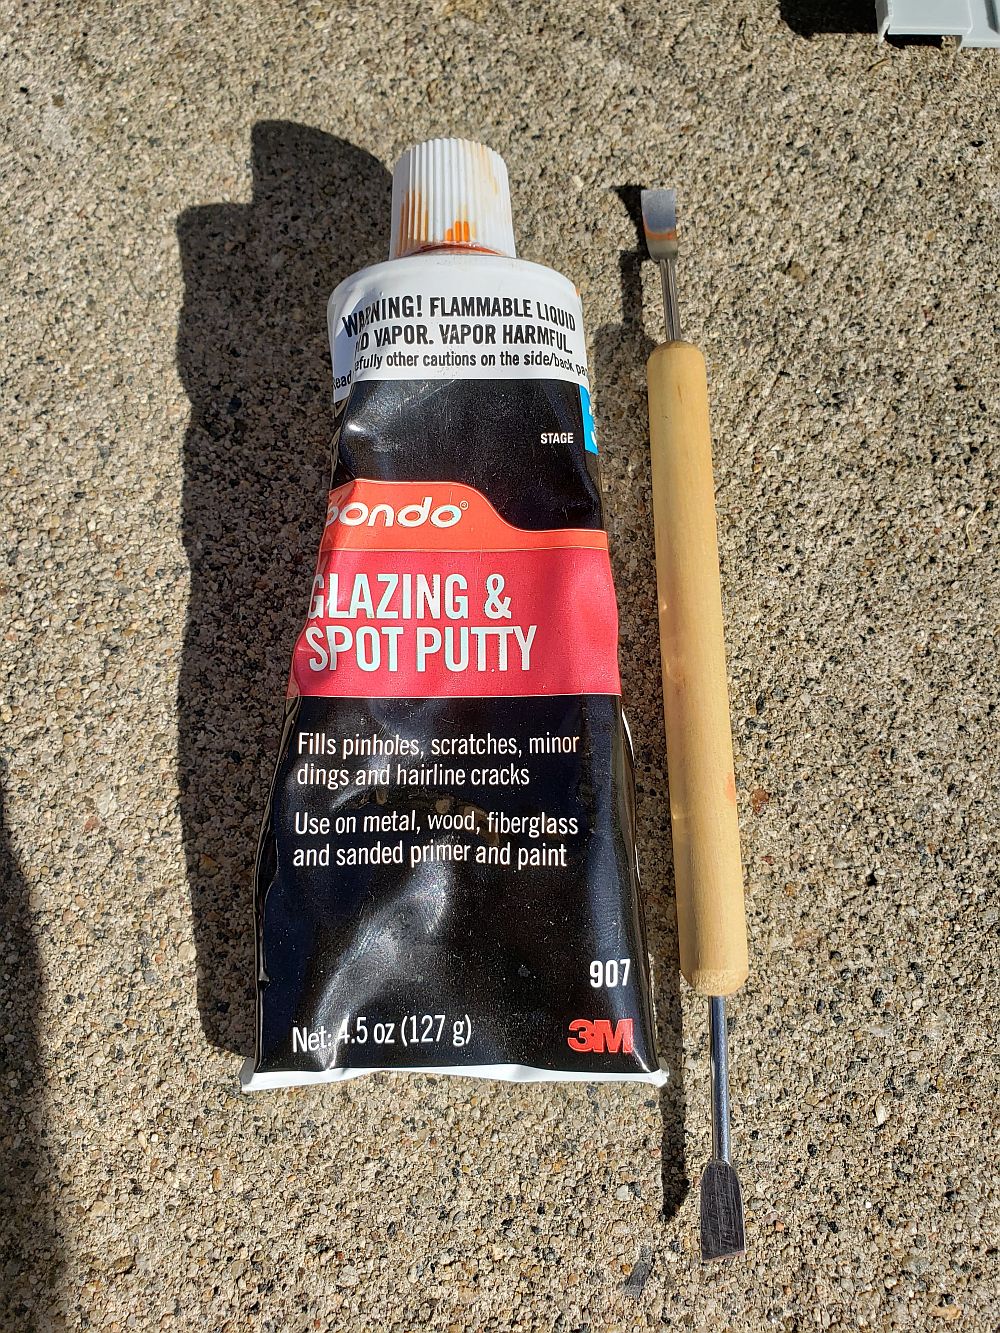
Using Bondo Auto Body Filler
How I use Bondo Brand Auto Body Filler on my Models to Fix Holes and Gaps.
For many years, modelers in all scales and our scale model car, ship, and military modeler cousins, have turned to many products to fill holes and gaps. First and foremost is Squadron Green Putty. This long standing hobby product is a favorite of many kit builders. But at $14.42 on Amazon for a 2.5oz tube, it's not exactly the cheapest product in your modeling toolkit! For $9.99 on Amazon, you can add a 3.0oz tube of Bondo Glazing and Spot Putty. This product work nearly exactly the same as Squadron green, and may be slightly thinner in consistency allowing better application.
I switched to Bondo about 8 years ago, after reading about in on an online forum. The user stated that it might be the same ingredients, or nearly the same, and caused no damage to out fragile plastic models (read: it does not melt plastic).
- Details
- Written by Josh Baakko
- Category: Hints and Tips to aid Modeling Projects
- Hits: 3156
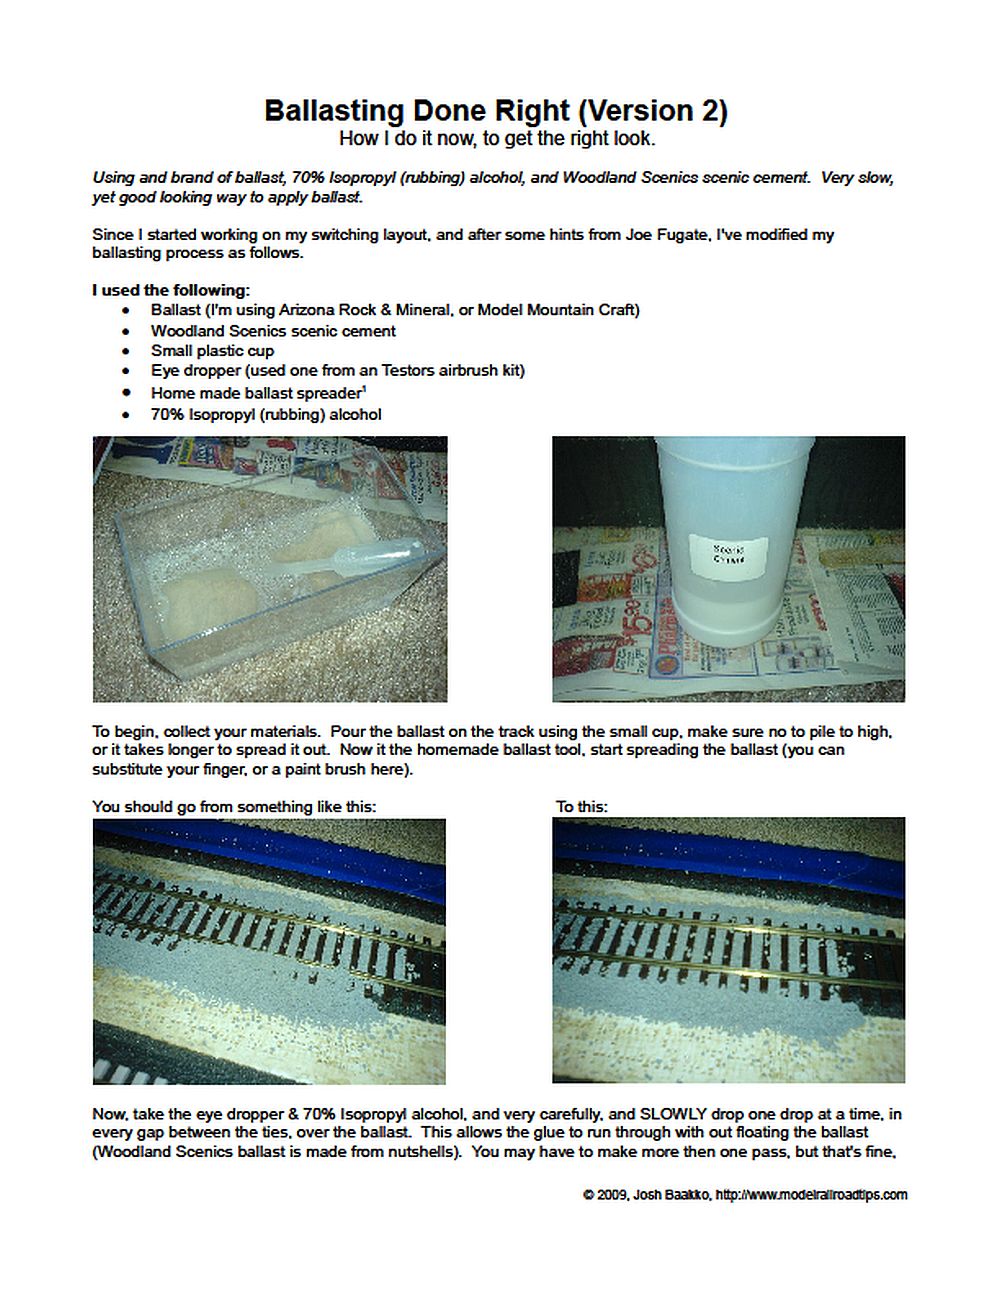
Ballasting Done Right (Version 2)
- Details
- Written by Josh Baakko
- Category: Hints and Tips to aid Modeling Projects
- Hits: 2345
Thin, Flexible Hoses, a New Modeling Idea
Fishing line modeling, a new modeling idea.
So, I've been using 25lbs test fishing line to make the hoses on my weed sprayer car, when I realized it can be used to make a number of flexible hoses in scale! Here's some ideas I've come up with, or that have been suggested. If you've got a new use, please take a picture provide a short description and send it to me, I'll get it in this post.
- Details
- Written by Harris Creek Central
- Category: Hints and Tips to aid Modeling Projects
- Hits: 2765
Ohm/Volt Meter
Using "Extension" Cords.
I often want to check the continuity of a wire where one end is somewhere many feet away from the opposite end. I have developed a way to extend my meter probes.
I purchased a roll of two strand wire, 50 ft long. First I have to empty the reel. Secondly not needing that long of an extension I cut the wire to 25 feet.
Take TWO (2) female sockets the size of your meter probes. (One Red One Black) Mount these in the ends of the reel as close as possible to the center axle. Solder the one end of both wires to these sockets. Now take a good piece of DUCT TAPE, and secure the wire and the sockets to the spool. Roll up the wire, now on the other (The Loose Ends) attach two alligator clips.(one red one black to correspond with the two female sockets. You now have TWO test wires.
Attach one clip to the wire in question. (Can use the second clip if your wanting to test Two Wires) Plug one of the meter probes into the female socket that matches the end you have the clip hooked up on and test as you would normally with the second probe of the meter. If you hooked up Two alligator clips, take the probe out of the Red socket and put it in the black socket, now check the second wire.
© 2008, 2019, “Harris Creek Central" http://www.modelrailroadtips.com
- Details
- Written by Josh Baakko
- Category: Hints and Tips to aid Modeling Projects
- Hits: 2965
“Slow” Ballasting to get the right look
Using Woodland Scenics ballast, "wet" water, and Woodland Scenics scenic cement. Very slow, yet good looking way to apply ballast.
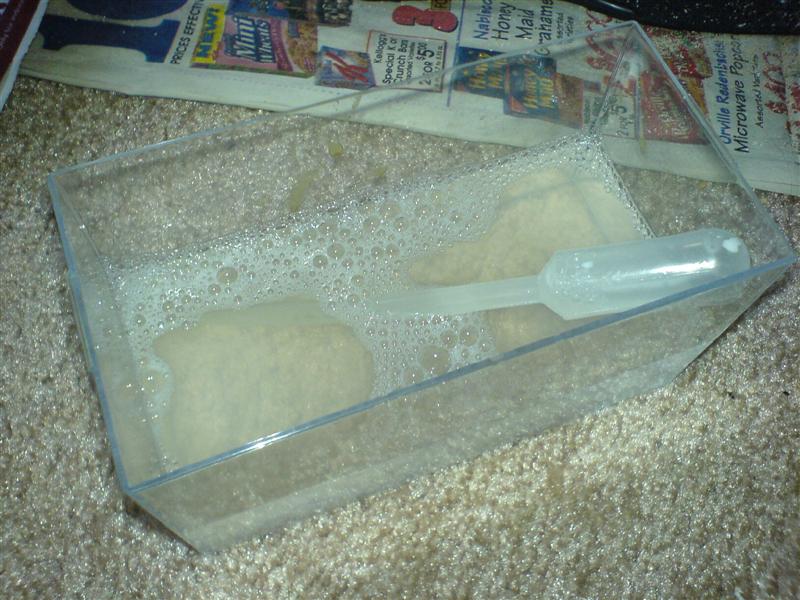
I've been slowly working on scenery on my mini-modules, that I plan to later install in an empire. Today I tested ballasting methods (well a ballasting method). I used the following:
- Woodland Scenics Grey medium ballast
- Woodland Scenics scenic cement
- Small plastic cup
- Plastic Pipette (used one from an Testors airbrush kit)
- 3/4" soft bristle paint brush
- "Wet" water, about 3oz water and 3-4 drops of liquid dish soap
- Details
- Written by John T.
- Category: Hints and Tips to aid Modeling Projects
- Hits: 2218
Scale Sounds on a Budget
Economy S-gauge train sounds
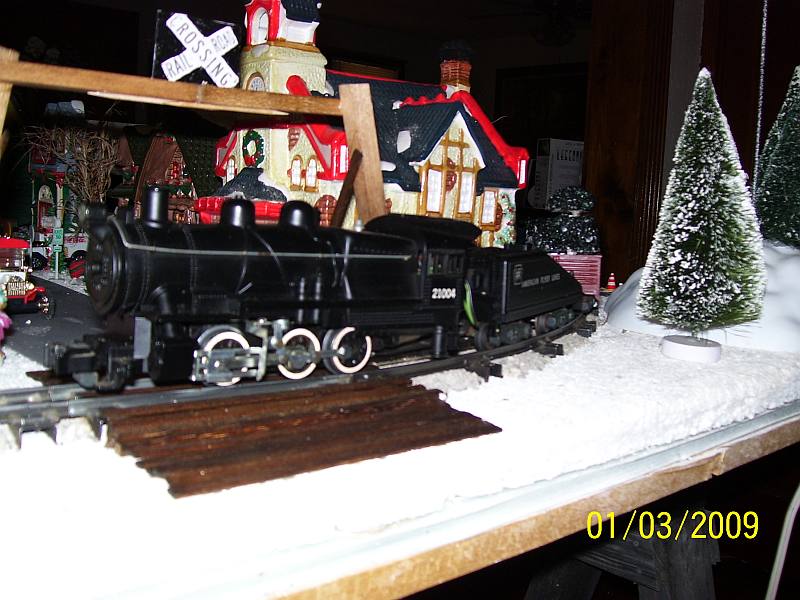
All you need for this project is white Styrofoam, some liquid nails, black spray and acrylic paint, a few toothpicks, one small wooden dowel, epoxy glue, last but not least a cheap railroad clock!!
Hi , I love your web site! I have an American Flyer rare uncatalogued #21004 loco and slant back tender with rocket freight set including rare car carrier w/ blue semi and all 5 cars also rocket launcher car, red caboose and the gondola being the key piece for me. I found this set when I painted apartments for a living, someone left it in a closet minus the track, but w/ the 100 watt power pack! It even had the original boxes, I couldn't believe someone could forget such a beautiful train set, I had one similar to it when I was a child (my dad sold it).
- Details
- Written by Dave Allen
- Category: Hints and Tips to aid Modeling Projects
- Hits: 2781
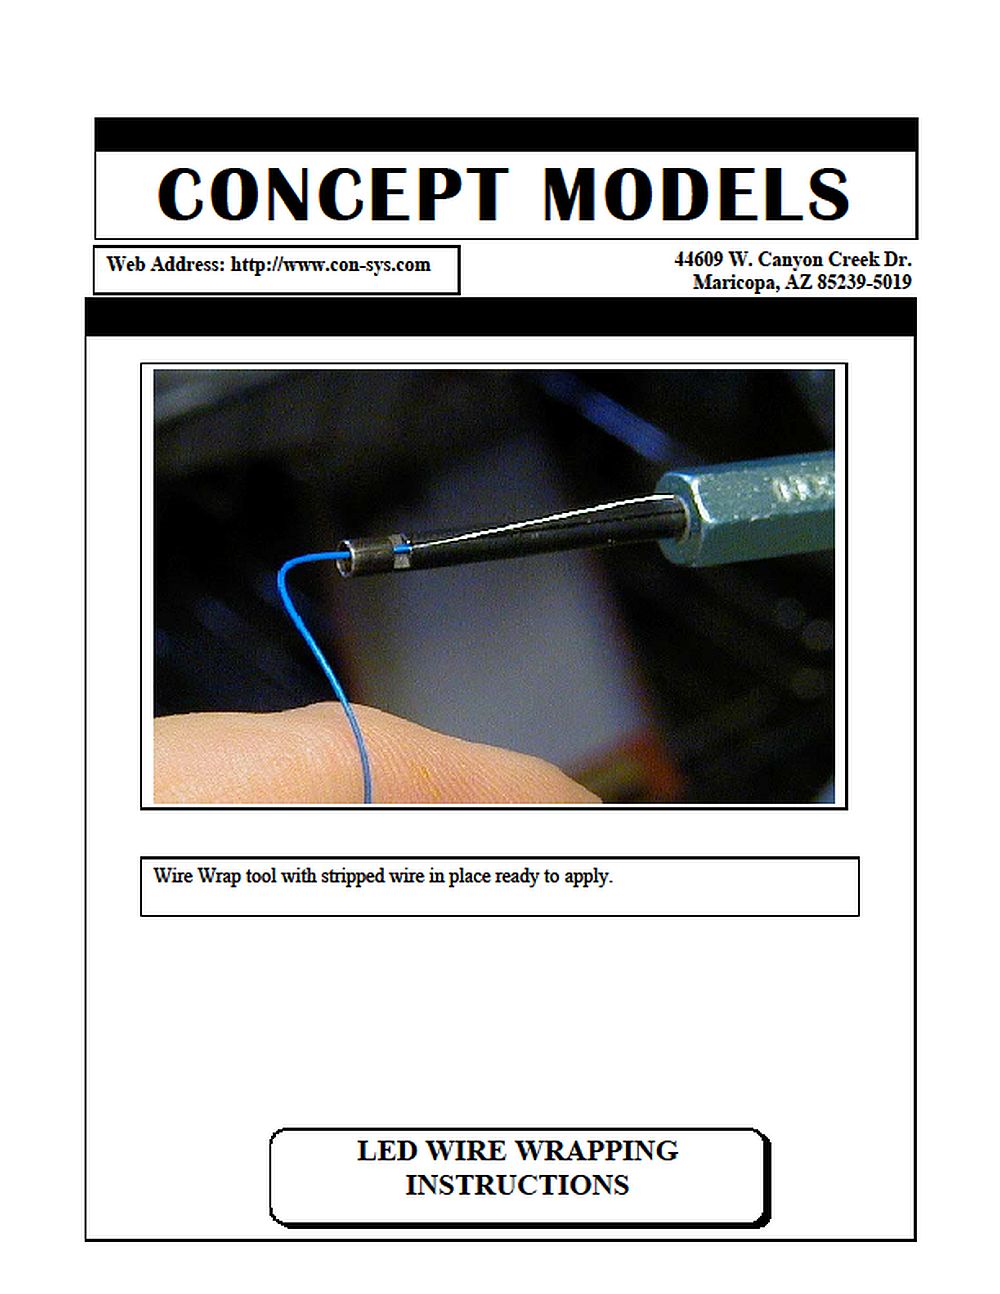
LED Wire Wrapping Instructions
- Details
- Written by Josh Baakko
- Category: Hints and Tips to aid Modeling Projects
- Hits: 2932
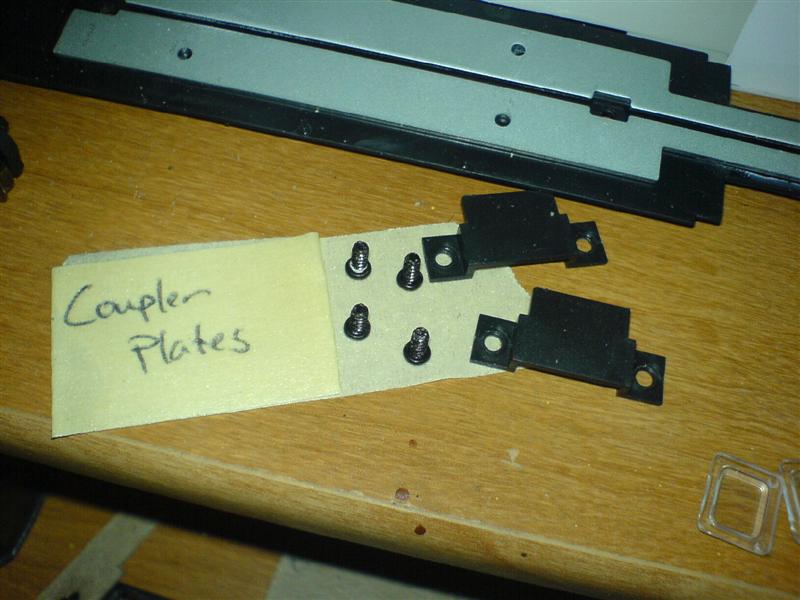
Cheap & easy way to save parts.
How I keep from loosing screws.
Ever loose screws and small parts when dismantling something for custom work? Ever forget
what they went to?
I've always had an issue with loosing screws and coupler boxes when I worked on stuff.
I've resorted to small zip lock baggies, but try and buy 100+ of them at a store, they'll begin to
think you're dealing drugs! I recently happened across a new, more brilliant, cheep idea.
The small screws in my Walthers Bi-level commuter coach needed to be stored. I
randomly thought about using a sticky note, flipped over so that the sticky side was up. This also
allows me to write on the note, where they go. However I didn't have any sticky notes! So I
decided on some masking tape instead.
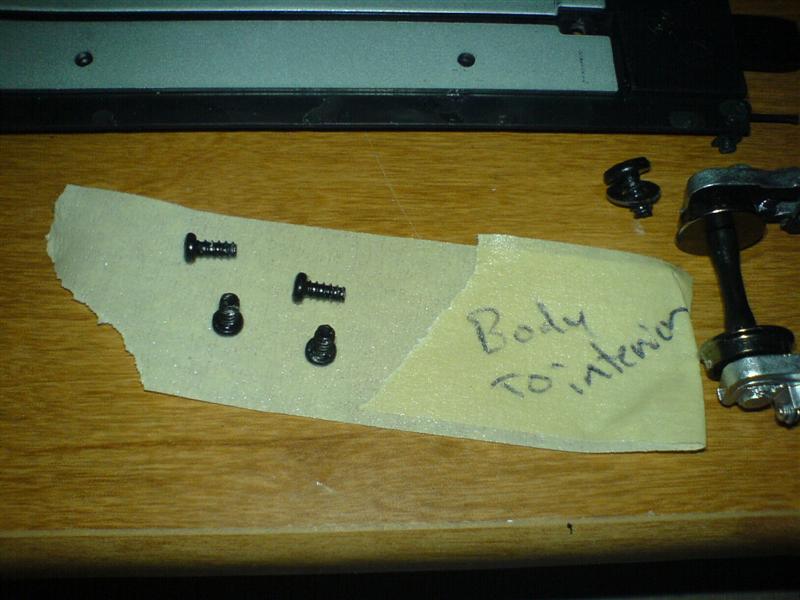
Starting with a 3 inch piece of tape, simply fold an inch or so back onto itself to allow for
your writing, and leave around an inch exposed. Now stick the screws and/or parts to the tape,
and there you have it, a "fail safe" storage system.
© 2007 Josh Baakko, http://www.modelrailroadtips.com
Page 1 of 2

