- Details
- Written by Josh Baakko
- Category: Decaling, Lettering, and Numbering
- Hits: 2478
Printing Your Own Decals
Shorty on my recent experiences with printing my own decals, on Testors inkjet decal paper.
So recently (November 2006) I've been working on my own decals, for both my Iron Belt SD40-2 & some other various locomotives. However I ran into an interesting issue with the Testors decal film I had picked up. The black ink from my Lexmark Z705 printer did not set. For whatever reason it may be, it would bleed once I sprayed the Testors decal film bonder on. Others colors set much better, and are holding to the film perfectly, but the black did not. On my 2nd run, I'm using an HP F355 all-in-one printer.
During the print process, I discovered that printing small text DOES NOT work well on inkjet printers, and I'd assume that if you can afford a screen printer, use that instead. I've also learned that, to get a good quality print, set the printer to print in either "photo mode" or "maximum DPI". The edges will turn out more crisp and fill in much better. Mine came out at 600DPI, then 1200DPI. the 600 cracked within minutes, where as the 1200DPI still looks great (on hour of drying time in now). For this run, I went with about 20 hours of dry time, just to be sure it sets. The ink set fine, however it still managed to bleed out on the 2nd pass of the bonder.
- Details
- Written by Josh Baakko
- Category: Decaling, Lettering, and Numbering
- Hits: 8223
Removing Factory Printed Letters or Numbers (Microsol)
How you can use Microsol to remove printed on letters or numbers.
Renumbering a locomotive or freight can seem daunting. I previously described a method that involved wet sanding, read it here: Removing printed on lettering or numbers. That method works great, but is not the only way to do remove lettering or numbers.
At the time of that article, I had experimented with a method that uses Microsol to soften the lettering but never got any results. 12 years later I can officially say I think I have perfected this method, and I'd like to share my results with you.
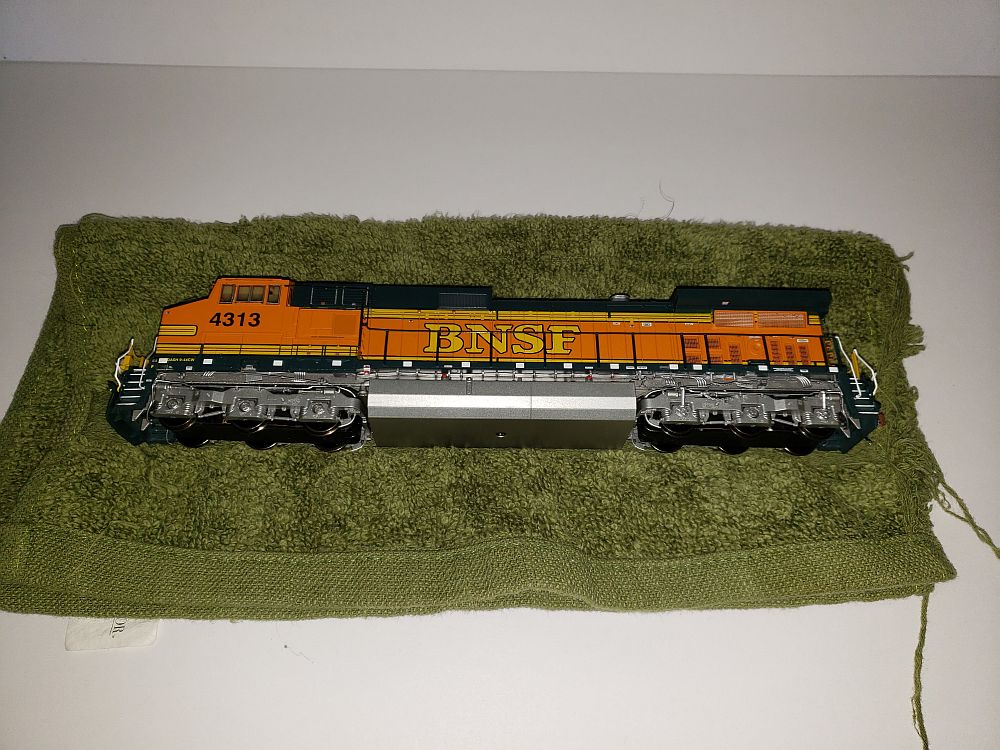
I purchased the ScaleTrains.com BNSF Dash 9 written about here: Quick Look: ScaleTrains.com Dash 9. I decided to update my locomotive to match a modern unit with PTC antennas added, but I could not find a photo of 4313 with PTC, so I chose 4300, the "class" unit. http://www.rrpicturearchives.net/locopicture.aspx?id=42537&Page=2
Read more: Removing Factory Printed Letters or Numbers (Microsol)
- Details
- Written by Josh Baakko
- Category: Decaling, Lettering, and Numbering
- Hits: 4303
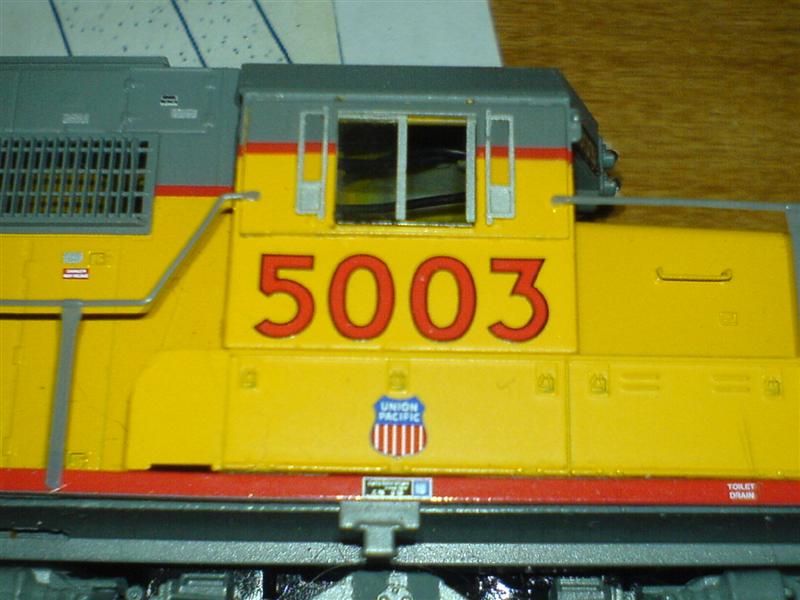
Removing printed on lettering or numbers
How I removed two numbers from an Athearn SD50
This article shows how to use 91% Isopropyl Alcohol and q-tips to remove lettering or numbers.
Recently I read a post on a forum, where someone was trying to remove printed on lettering. There were
various suggestions but it seemed nothing worked for the poster. So today I decided since I needed to
remove the "03" from UP #5003, and Athearn RTR SD50, to make it into NREX #5062, I'd make an article
out of it.
What’s needed?
91% Isopropyl Alcohol
Q-tips
Item you want to remove lettering from
Getting started
This process for me, took 6 steps, 6 Q-tips (referred to later as "Q-tip"), to get a good clean numberless
area. It may take you more, if you're working on rough spots, such as rivets, or hood doors.
Begin by dipping one side of Q-tip #1 in the alcohol. Dab this side onto the area to be cleaned, in my case
the "03". Once moist rub it around, slowly rolling the q-tip to avoid spreading the color to be removed
(black & red in my case). I got 3 good "buffing areas" out of the tip. Now that you've buffed those 3 times,
flip the Q-tip around, and buff with the clean dry side. Again, I got 3 good buffs out of this side. Repeat
until clean.