
Basic Construction of an All Foam Module
Describing how I assembled my all foam modules. Since I opted to make these modules at light as possible, I've eliminated wood from the framing of the modules, and opted for 100% foam.
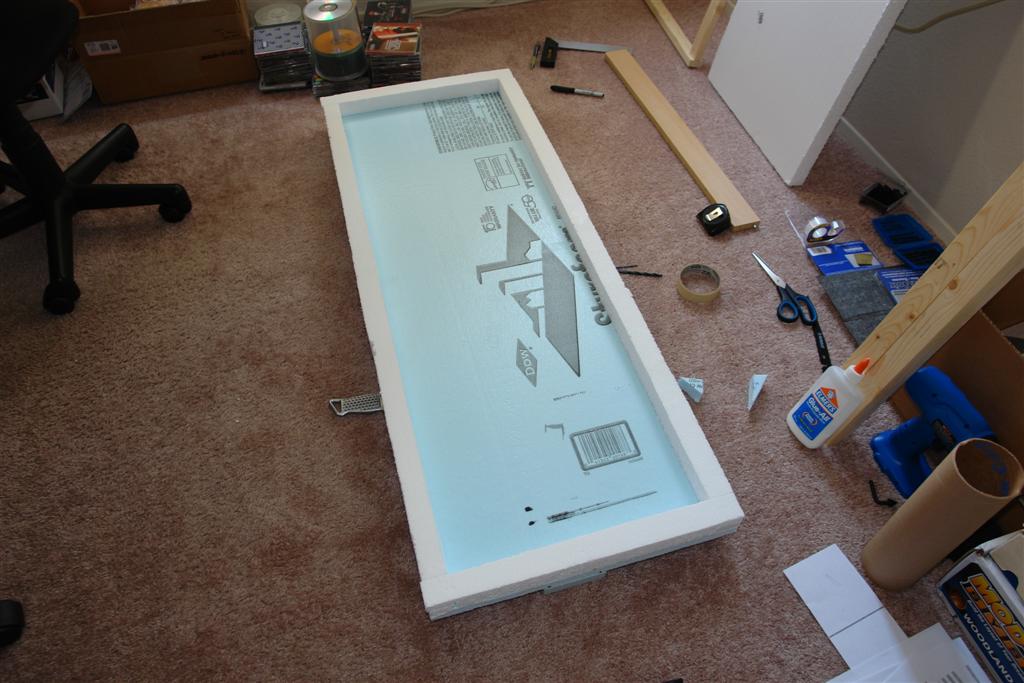
To begin building a foam module, I first measured out the size of the module. Most of the modules range from 1' x 3.5' to 18" x 4', with a few oddball modules that are not square.
The "base" is made up of 1" thick extruded foam. This is the foam, most model railroaders will refer to as "blue board" or "pink board" depending on the brand (Dow & Owens Corning, respectively), or in some cases the Dow product will be referred to as "Dow board". This foam is the chosen material because it cuts much easier, and if you were to use it for scenery (as I will later), it can be carved much easier.
It's important to note, that depending on which area you live in, acquiring this foam may be tough. I live in San Diego, and I can only find it in one Lowe's, in 1" x 2' x 8' sheets. Expanded foam is more readily available, and will work just fine however is tougher to cut, messier, and does not work well for carving smooth rolling scenery. That same Lowe's carried 1/4" up to 2" thick, by 4' x 8' sheets of expanded foam, under the brand "Insulfoam". Home Depot carries the same brands, and also had a 1 1/2" x 2' x 4' sheet of the Insulfoam expanded foam. Insulfoam comes with a plastic protective layer, it is recommended that you remove this layer, AFTER cutting. Removing the plastic allows foam on foam gluing.
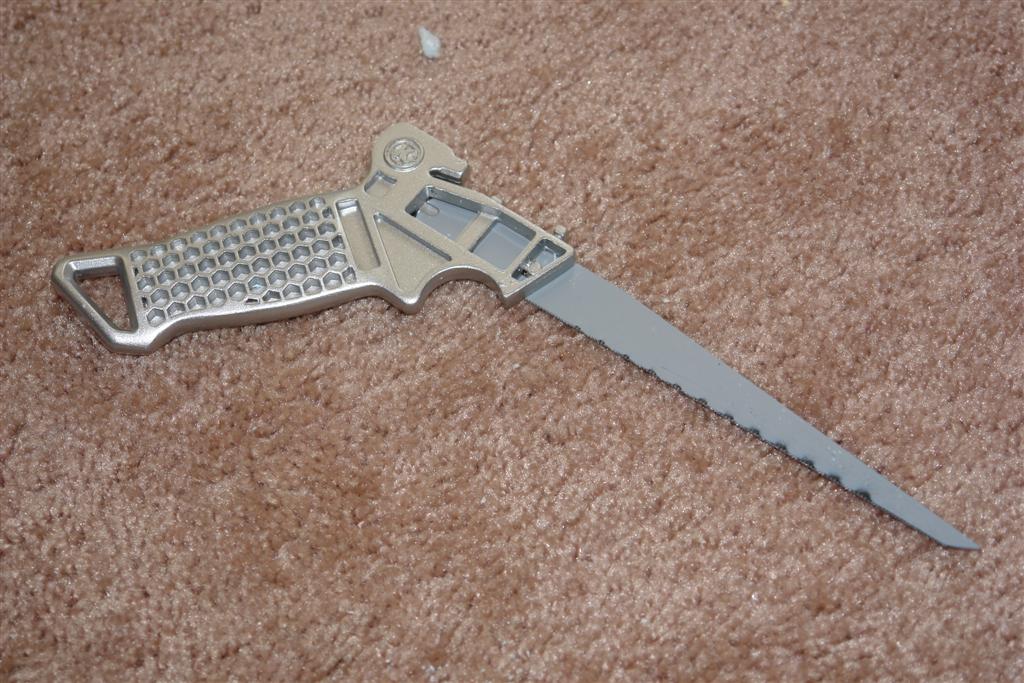
I cut the foam with a fine toothed key hole saw. Using a saw does create quite allot of foam scraps, so keep a vacuum on hand! The keyhole saw has a pointed tip so if I needed to start a new angle, I don't have cut in from the edge of the board, I can just push it though.
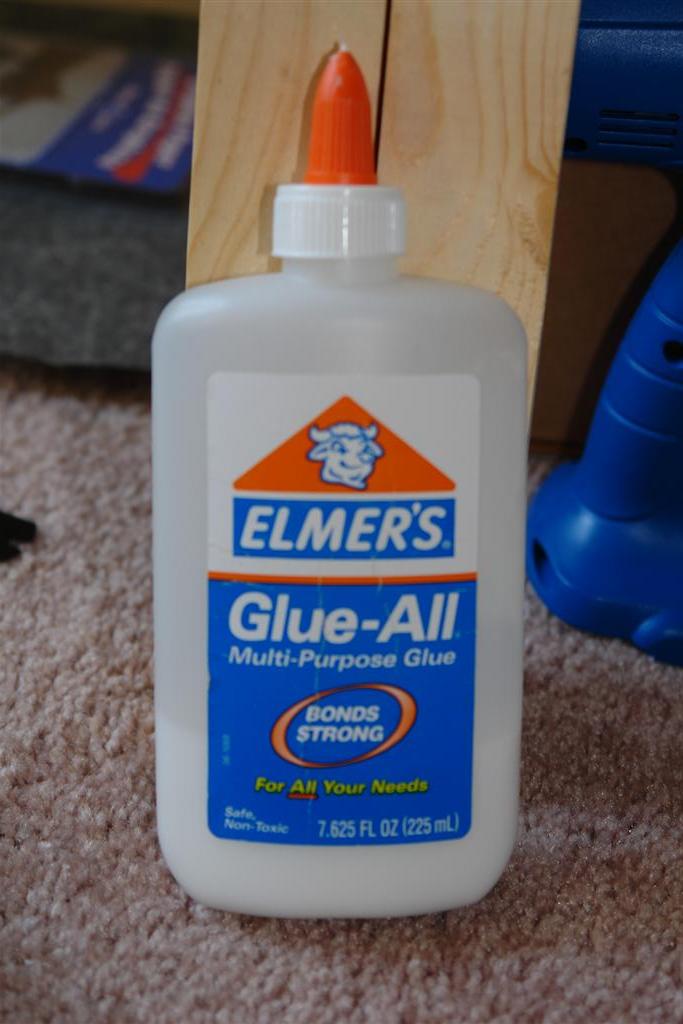
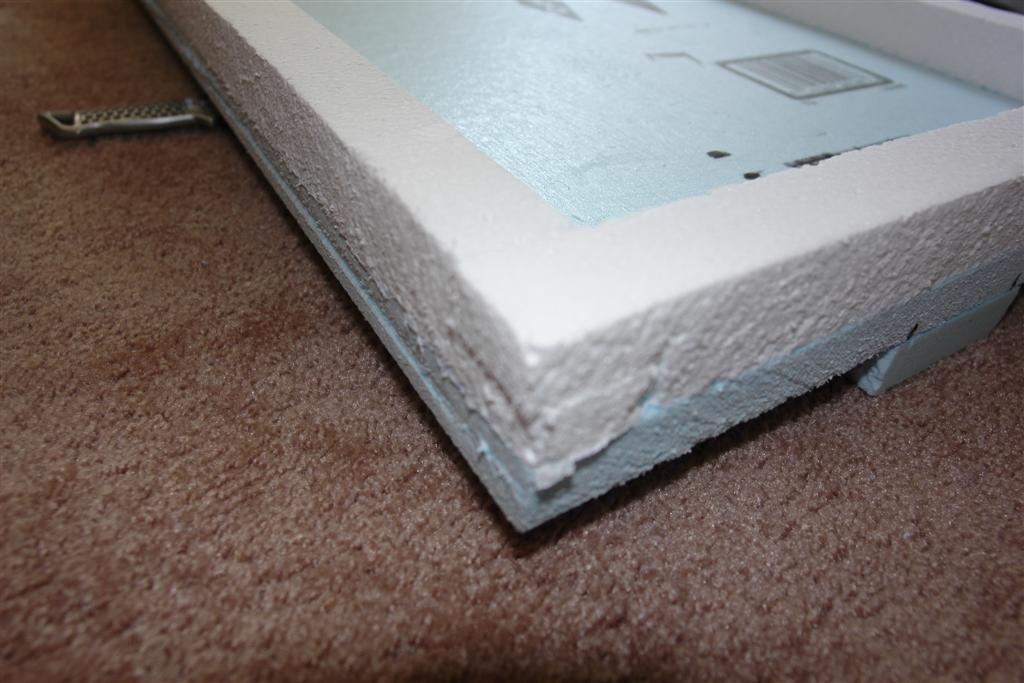
In my case, buying the Insulfoam 1 1/2" thick sheets was viable for the foam frame. I picked up two sheets, and I think they'll last me through framing all the modules. Since they're 1 1/2" thick, I'm cutting them into 1 1/2" strips. I then remove the plastic covering, and used Elmer's Glue All to attach them [Ed I've since switched to Liquid Nails for Projects]. Add some weights, or tape to hold them in place and leave them for 8 hours to allow for ample drying time.
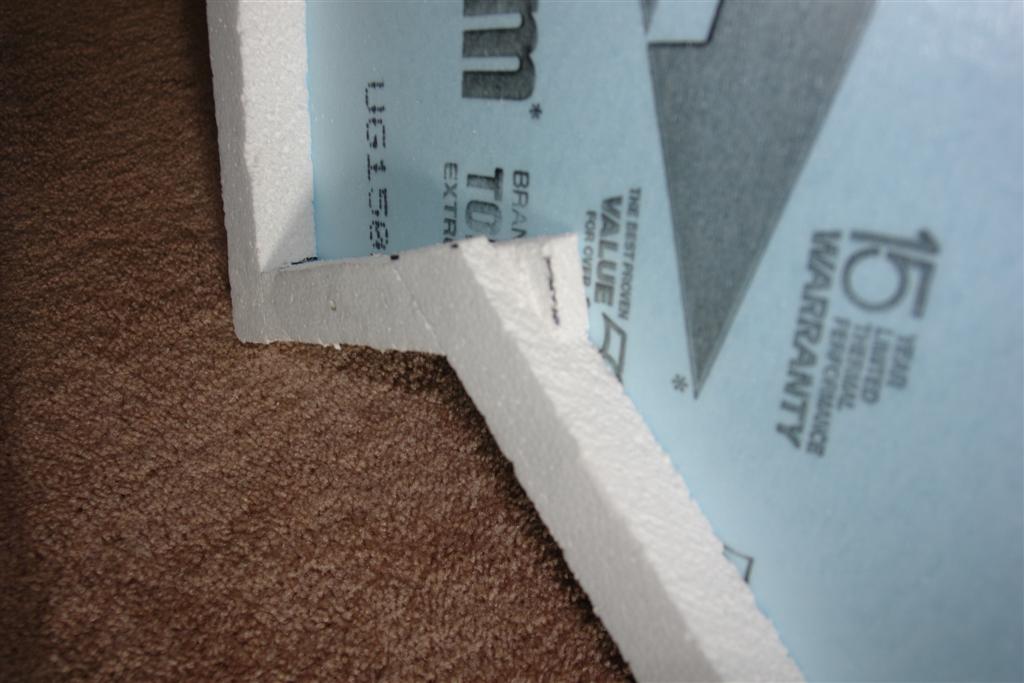
I notched the frames to fit, instead of using a butt joint, for the extra holding power. Remember, we want this foam frame to be strong enough to hold the module up, on its own. Once you've completed the notching, and gluing of the ends, you can create some more joists. They'll follow in the same principal, notched to hold. In this case, I will not notch all the way through the edge foam frame, to allow for a fairly smooth edge frame, for attaching the backdrop and fascia.
©2007/2020, Josh Baakko, https://www.modelrailroadtips.com