
Using Risers on Your Layout
You can follow these directions when using foam, or opt for the Woodland Scenics pre-cut risers.
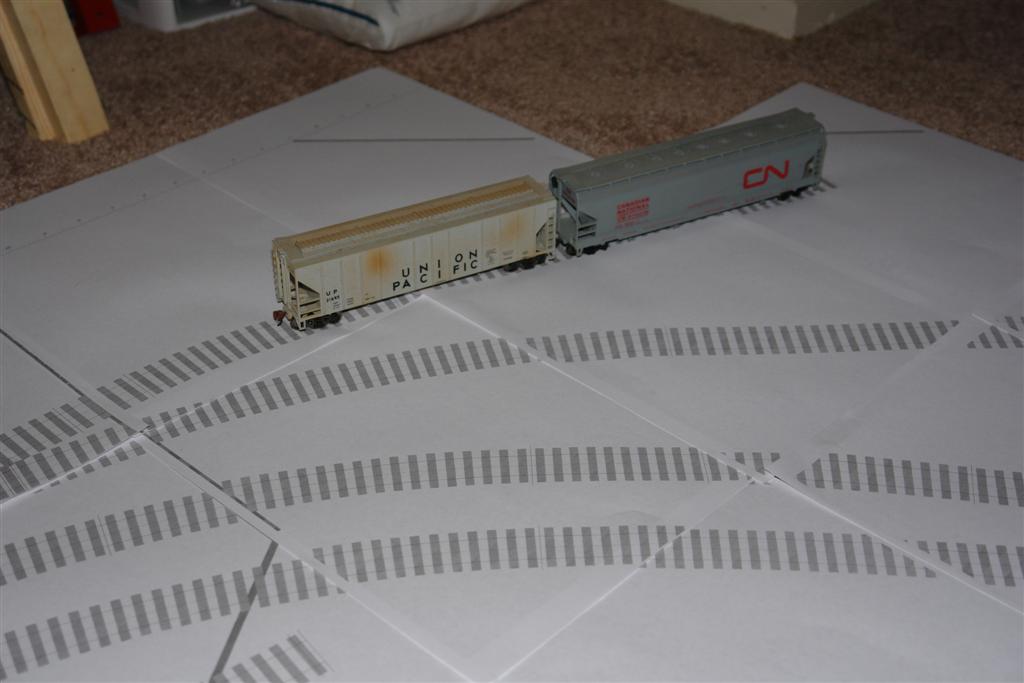
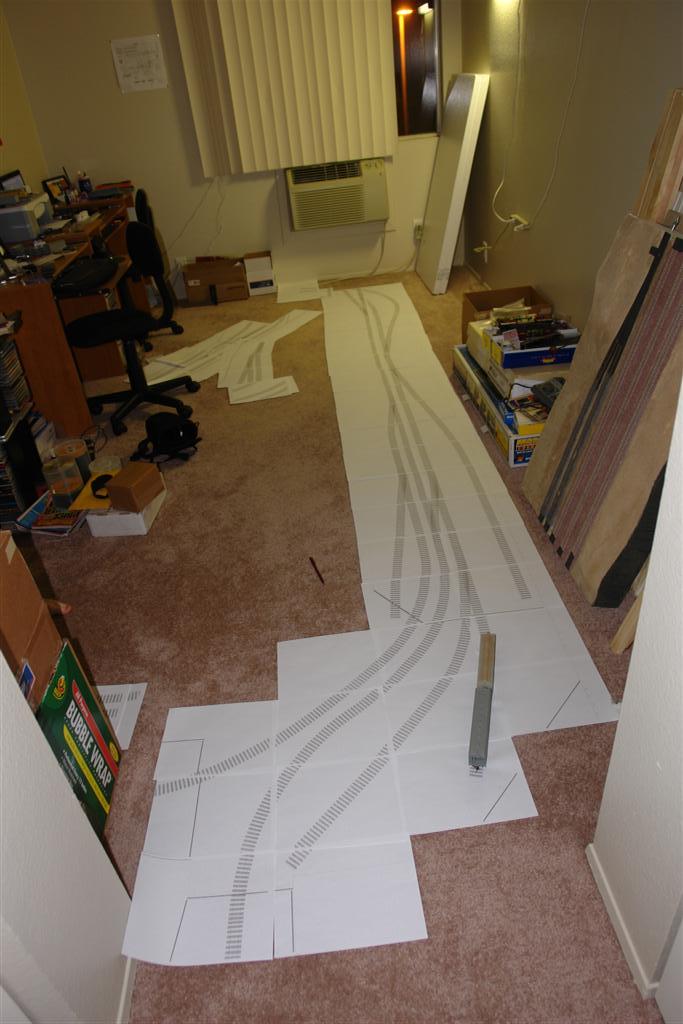
After the framing is complete, we can add risers. To make sure I positioned the risers correctly, I needed to trace the track plan from the 1:1 print out, onto the foam boards. I found that using carbon paper does not work well at all, and you'll end up going back over it with a sharpie, or a pen. You can use a pin wheel, which should work much better then trace the holes the pinwheel made in the surface of the foam. This step is very rough, but recommended if you're using a 1:1 track plan, because it'll allow you to get the risers were they need to be.
Why risers?
I use a riser for one big reason, it allows dug in scenery to be built easier. Rivers, culverts, etc are easier to add.
When using the track plan, I suggest taping sheets together, in module sizes (I.E. each module's plan taped together into one large sheet), so what when you go back later to use the plan again when adding the roadbed & track, it stays the same.
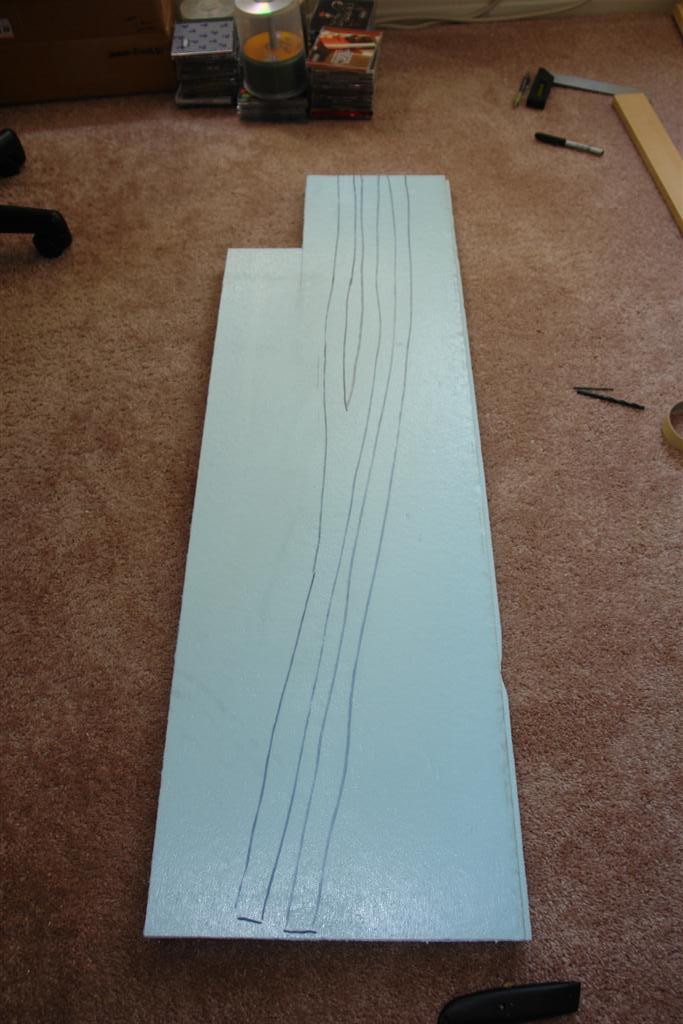
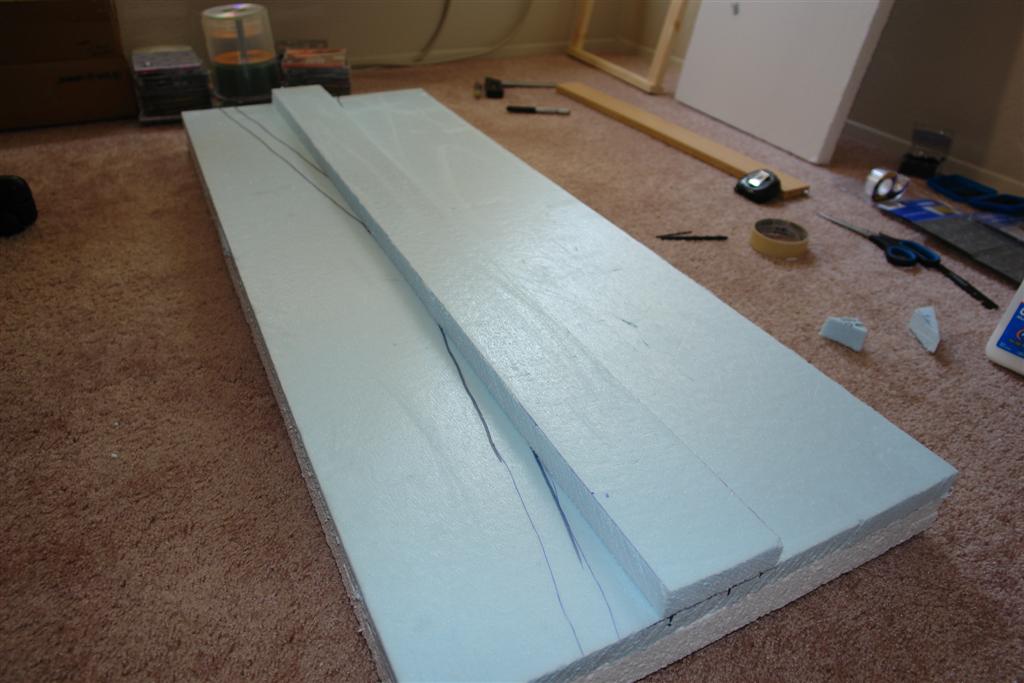
I attached a 1" thick riser made up of foam scraps. Woodland Scenics makes risers that you can buy, and are bendable, and come in various sizes, and grades. I've opted against them here, because I do not feel like messing with all that plaster to get the top smooth for the roadbed, and scenery. The foam can be painted, then scenery added over it. Risers are glued on the same way as the foam base, tape or weighted. As you can see below, I have the center riser done for the mainline & passing siding on one of the center modules.
©2007/2020, Josh Baakko, https://www.modelrailroadtips.com