Scratch Built Wall for a Basement
How I quickly built a wall to represent a basement of a factory for my Buffalo layout.
In the last year or so, I've been quietly working on a small 7' long layout, located in an alcove in my dining room. This layout represents the Milkbone/Del Monte/Smuckers plant located between Urban St and Fougeron St. I initially saw photographs taken from the west, on Fougeron St, and though, "Hey this would be neat."
Initially I was due to orientate the module looking east, as in the photographs, but the massive factory complex blocked and switching chances, so I turned the modules around and now the viewer faces west.
The Factory is represented by a mix of RDA, Walthers, and Pikestuff kits, and sits at track level, but there are doors to the "basement" located at street level on both streets I modeled. So, I needed to scratch build a basement wall, complete with loading dock, roll up door, and personnel door.
The street, sidewalk, and bridge abutment are all scratch built from .030" styrene bought at a local plastics supplier. The 8' x 2' sheet has lasted me 2 years now, and I still have over 3' remaining.
I started with some brick sheet I found in my scrap drawer. I cut the height and width with a new hobby blade. Once sized, I measured the space needed for the personnel door that I found in my windows and door scrap box [Ed. see: Storing Those Spare Windows...], and cut that, following the lines in the bricks. the opening was slightly small, so I cleaned it up with a file, and cemented in the door.
The loading dock and roll up door come from a Pikestuff Kit. I assembled the dock, then sized it up to the wall, marking the height on a row of bricks. I then measured and marked the wall for the hole to fit the roll up door. I cut the opening with a sharp blade, and use a file to finish the opening to the right size.
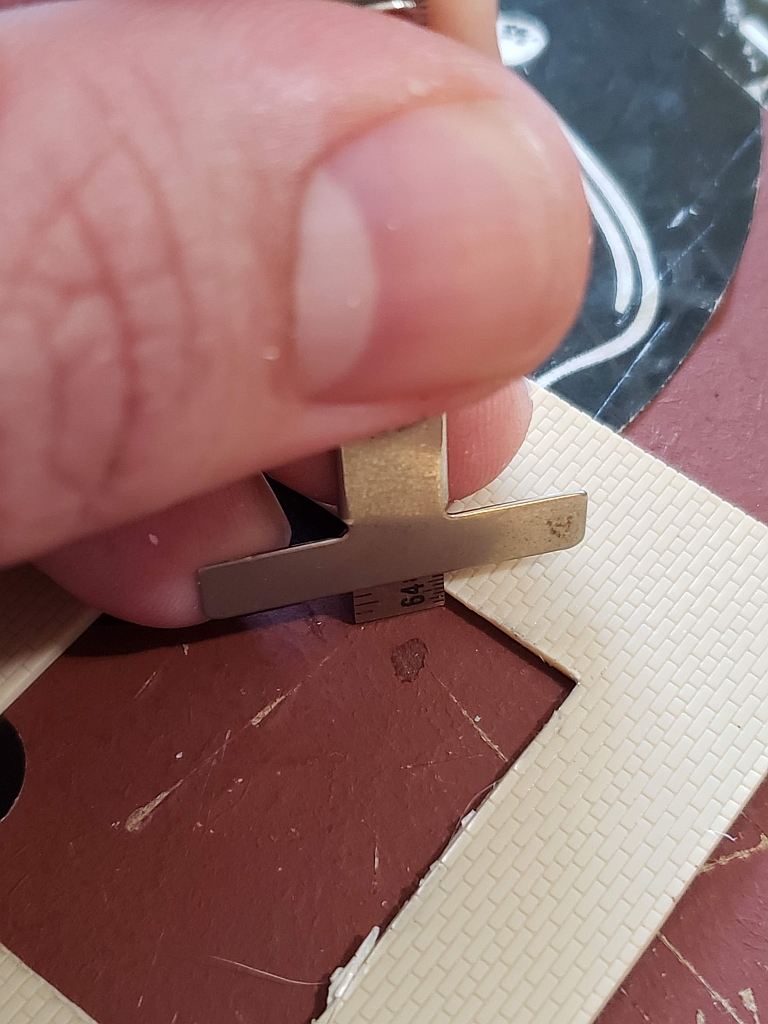
It was then that I noticed the wall was too thin compared to the Pikestuff roll up door. I used a few sections of the brick, to double the thickness of the wall. The was necessary on the edges of the wall section, and the bottom of the door opening. I also added to the top of the wall.

I then inserted the roll up door. The design of the door allows one to cover up their "mistakes" and inaccuracies in filing the top and sides of the opening, but not the bottom!
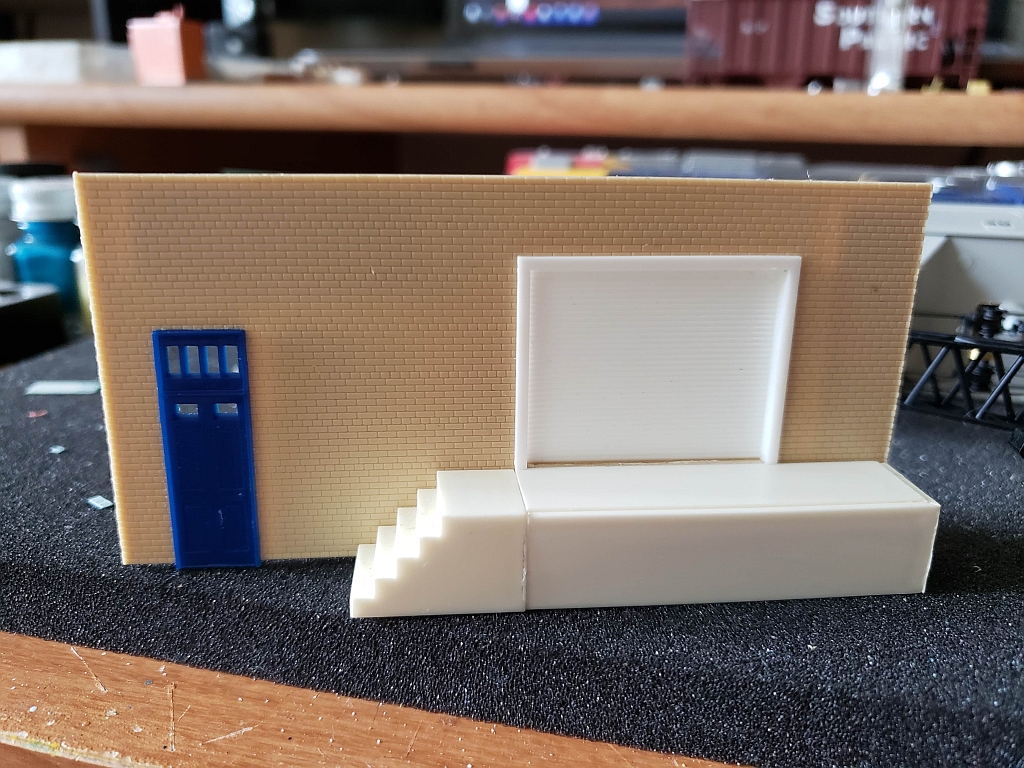
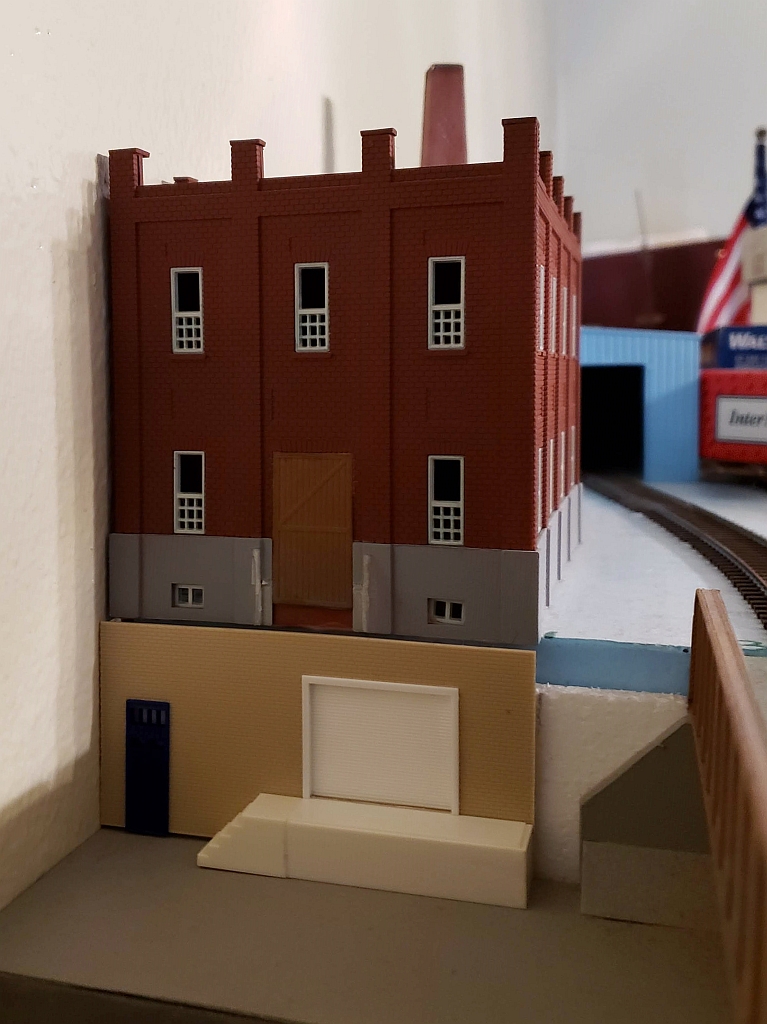
I glued the loading dock to the wall. I still need to make a small "roof" to the basement, and paint it before I install it permanently.
Loading dock test fit on the module. You can see the old boarded up street level door, which has not been used since the street underpass was built. That door also came from my scrap box! Once I complete some scenery on the exposed white Styrofoam, I'll permanently install this scratch built wall.
©2019/2020, Josh Baakko, https://www.modelrailroadtips.com