Resurrecting a Structure Kit
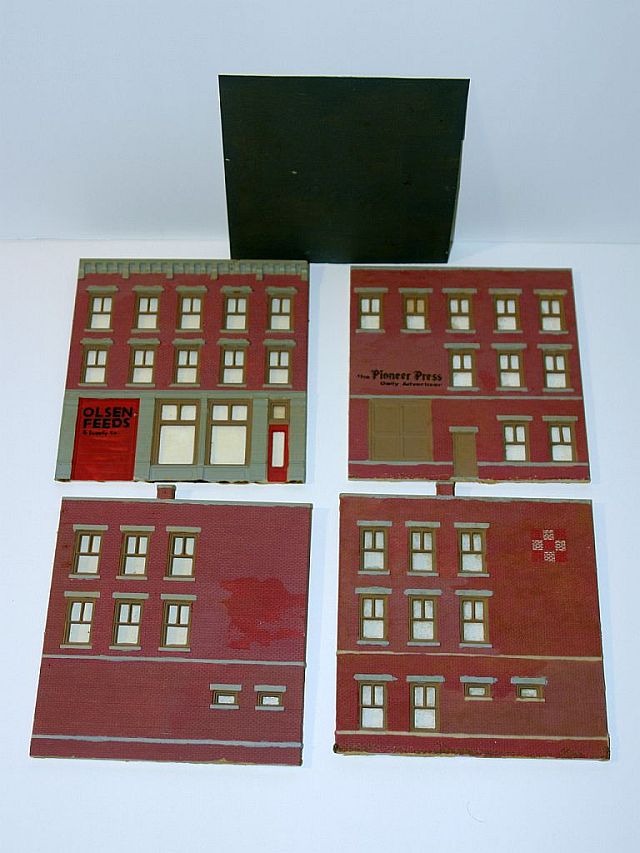
A years ago my dad dismantled my childhood layout, sending me some of the structures he didn't have a use for in his future plans. Design Preservation Models' (DPM) "B. Moore Catalog/Showroom" was one of them.
If you've ever built, or thought of building a DPM kit, you'll know that they happen to be very challenging. The kits are cast as flat wall sections, and have a considerable draft angle on the ends that needs to be removed.
I originally built my DPM B. Moore Catalog/Showroom kit back in ~1999-2000. Even at that age (15-16) I knew that the draft angle needed to be removed for a good square corner. After considerable sanding I got a somewhat square end. I proceeded to paint the walls individually, then assembled the structure with Duco cement (a thick all purpose epoxy/CA type adhesive). DPM included a THIN (.010") sheet of styrene for the roof, which I painted and installed, with some short sections of .030" styrene strip to brace it. It worked, and had a place on my layout for 3 years before I left for the military.
Fast forward 2 years. My dad decided he no longer wanted to use the layout (he had occasionally), so he began removing the structures and scenery. In 2008 he decided to part with some of the structures, sending me the DPM building I had built.

I quickly boxed the structure up with several other unbuilt models. I had no real plan. Recently, while looking for some Pikestuff parts, I happened upon it. I decided it was time to resurrect the structure.
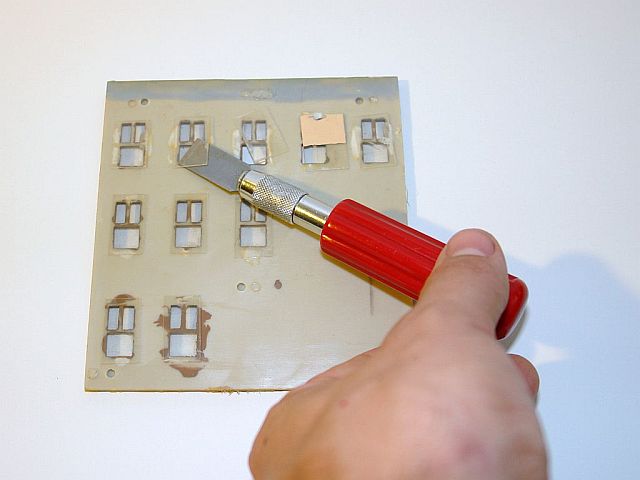
I started the re-assembly by using a chisel blade to remove the clear plastic from the windows. I used Duco Cement all those years ago, so it took some work.
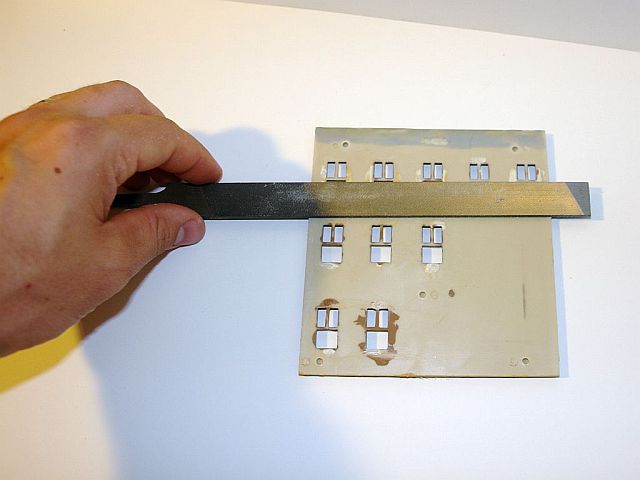
I then took a milling file an smoothed out the backside of the walls, ensuring all the left over window material and cement was removed. This will allow me to install the new window material later. At the same time, I used the file to square off the sides and bottom of each wall section.
Test fit the sides to ensure they walls mate flush. I used a medium thickness 5-15 second CA, and spread it on a the mating end of a side wall. I used a square to ensure the walls were square when I touched the parts together. I then dripped on a small amount of CA Insta-set.
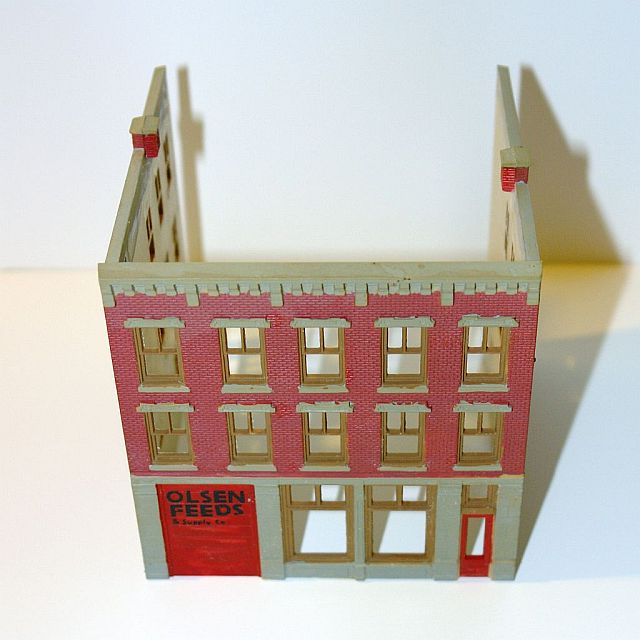
After assembly, I noticed the rear wall was about 1/16th" too wide. This explains why the roof material never fit correctly when I was younger.
Next update will show how I narrowed the rear wall to ensure the structure was square.
©2011/2020, Josh Baakko, https://www.modelrailroadtips.com