
Laying the track
An article by Stephen McCallum aka fsm1000. This is an authorized repost of his article, which was originally posted on his website which he is now planning to close.
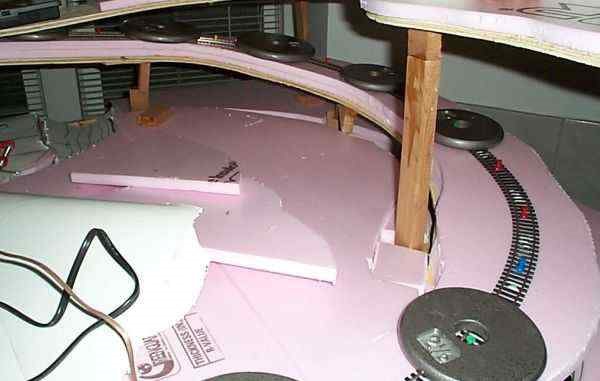
So now we are down to the actual laying of the track. Before we begin I should add that I tested the incline and found it was too steep. So I lowered ALL of the uprights supporting the upper levels by 1 ½ inches. I had raised the upper part as I thought I could get away with it. But after extensive testing I found that the shay could get up but the porter could not. And nothing got up with a load. If (unlike me) you were to stick to the original layout it will work out fine. Live and learn LOL.
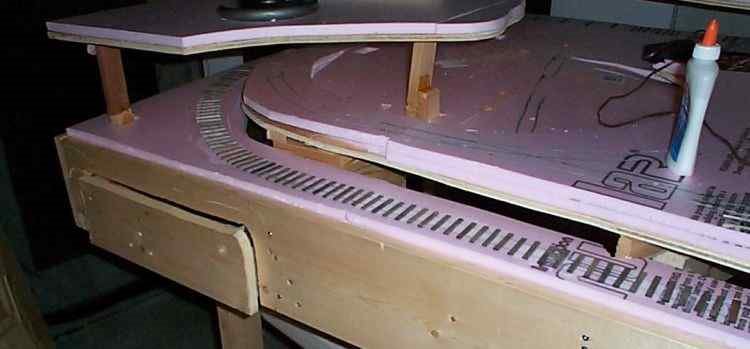
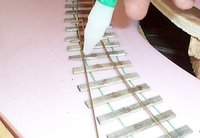
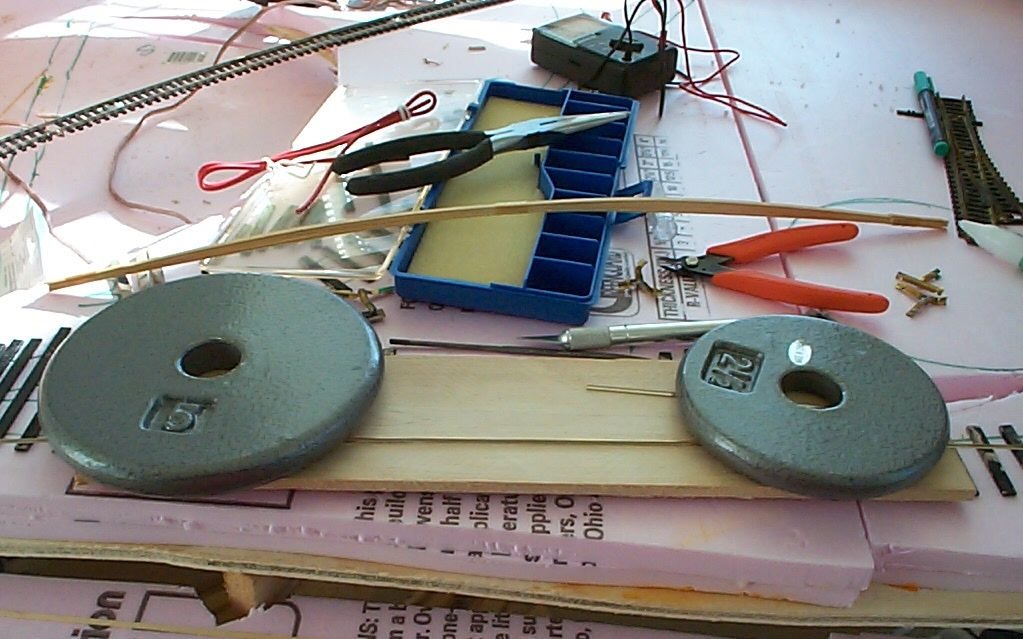
This is a picture of how I laid down the test track.
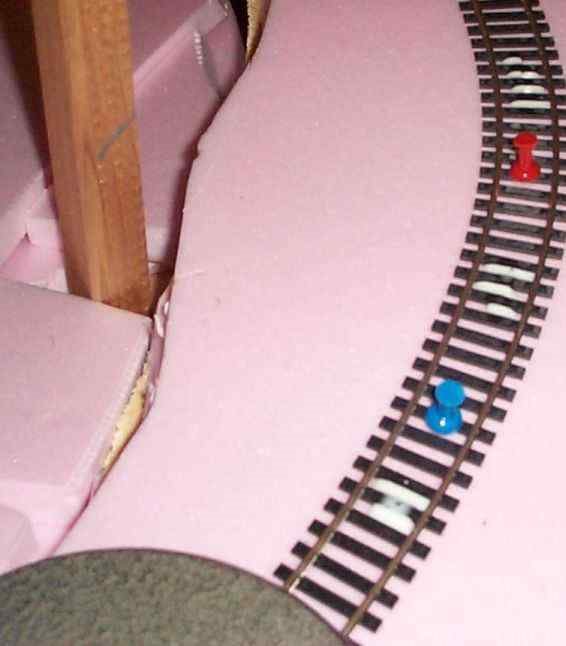
About the only thing I use flextrack for now a days. I used simple white glue to tack it down.
All I did really was lay down some spare flex track and run the locos up it with and without a load. My maximum loads will be two passenger cars 25 feet long, or about 10 1/2 to 11 ounces of cars. After adjustments the shay was able to move 11 3/4 ounces and the porter 4 ounces. More than enough for now. Also I hadn't roughed up the track or anything else. So it will be fine and I am happy with it. I can lower it about 1/2 to 3/4 inches IF I need to. But I doubt I will (famous last words? :) ).
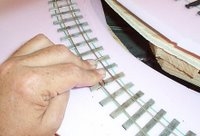
After that was done, the flex track simply lifted off of the foam easily as white glue does not penetrate even though it will lightly stick to it. I use a gob of glue every 6 inches or so to hold down the track. It needed a day and a half to dry though, because it was such a thick mass. I had to add a little here and there as it went between the ties and did not cover the ties fully. No problems though once it is dry. It won't interfere with the locos. Just let it dry.
If you are going to lay down flex track then that's all you need to know. Lay it down. Glue in place, let the glue dry and presto. Done. Well except the wiring, but that comes later.<br /><br />IF YOU WANT TO HAND LAY THOUGH WELLLLLL. It is a bit more involved, but not by much. [Editor's note: The author now progresses into handlaying track.]
Ok, step one is to buy or cut out your ties. I got some wood at a store that seemed about right. It was a scale 12 inches wide but it 'looked' right. I cut my ties 7 feet long. (Remember I am in On30 so that is 1 3/4 inches).
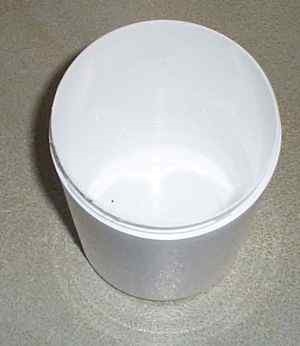
Step two, get a bucket. I used an old plastic tin.
Next, add the paint.
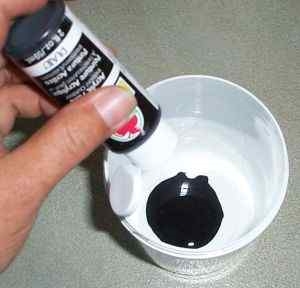
I used black paint at first, then later I redid all of this once the ties were dry, with brown paint. Same steps, just a different color. Then I added just a little bit of water.
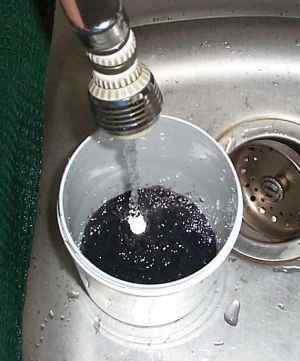
BARELY enough to cover the ties. Actually less then that. When I made another batch later I tried it without water (you will see they are VERY black) and they turned out pretty badly. Oh well, anyhow, YOU add water otherwise they will be black ties instead of stained ties.
Ok then, now add the ties and mix them with your hand. Hopefully you have plastic gloves so your hands don't get turned black. Let these soak about 15 to 20 minutes. Same thing later when you do the brown.
Oh yeah. Just so you know. I am doing this in the sink. This way I can clean as I go along. Otherwise it is simply too messy.
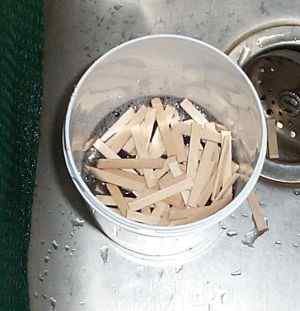
Now you can dump the whole mess into the sink (well don't drop it, pour it is better so it doesn't splash), and VERY lightly rinse them. Just a splash mostly. Actually you don't even have to rinse them if you wish.
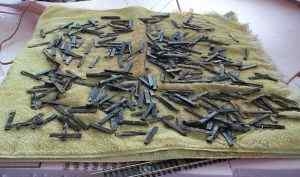
Next you will need an old BUT CLEAN rag. Lay the ties out on the rag and MAKE SURE YOU SEPARATE THE TIES. If you don't the drying paint will act like glue and you will end up with a mess of glued wood.
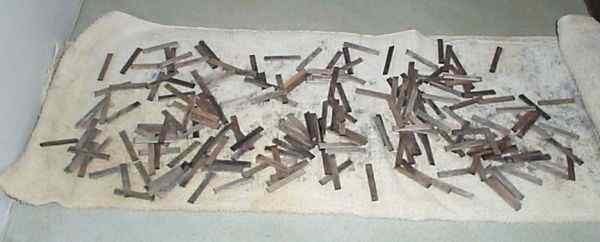
What I do is I will pick up the ties and move them around about once every 30 minutes to an hour (no more than an hour though) making sure none are stuck together. Do this until they are fairly dry. You can also pat them dry some more and also move them to a drier rag or old towel.
Once they are dry, do all this again only use dark brown (I used chocolate [brown paint]) and after that you will have convincing old ties. Another way to do this is to mix a colour of paint you like first off, and then just use that. But I found this way makes a kind of two tone with 'streaks' of creosote.
Anyhow, try it your way if you have a favorite. I was using a new type of paint for me and tried a different technique. You can see (later pics) it didn't work too well. I usually use Ceramcoat. But this was 'on sale' for about a quarter of the price and so I tried it out. Though you can't tell by the pics, this stuff stinks as well. No wonder it was on sale LOL. At least Ceramcoat doesn't stink.
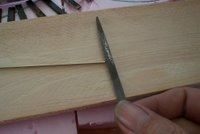
Remember way back when I suggested you make a full sized template of this (or your) layout? Well go get that because you are going to need it for this next step. Ok so you layout the template on the top of the foam.
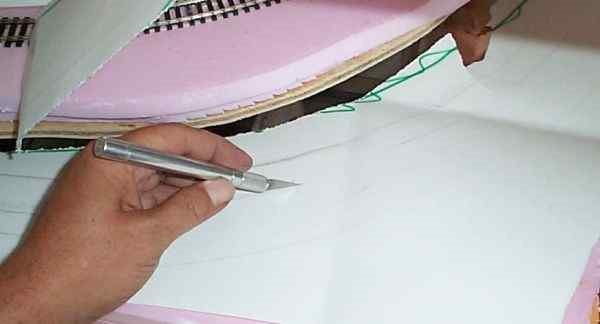
Now you see where the lines are for the track (they are approximate I know but bear with me)? Ok get an exacto knife, or something with a strong SHARP blade. This is no time to skimp on blades. Ok, now go over the track lines. Being VERY careful that the template does not move. Some people hold it in place with weights, or double sided tape (which I find too strong and lifts the foam upon removal) Or are very careful and make 'litigation' marks. These are simply marks at preset areas that you can refer to over and over again knowing that when they are set up everything will be in place. To do this, simply layout the template. Now MARK the template and foam with a marker and or a cut line. Make sure template does not move. Then as you cut you can line these up as you go knowing you will be in place.
If you have done sewing from a pattern, or made ads for a paper etc, then you have used 'litigation' marks.
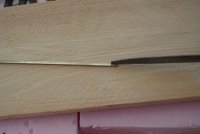
Ok enough technical stuff. Cut out all of the 'track' and transfer them from the template to the foam on the layout.
As you go along, or after you are totally done, go over the cut marks with a marker.
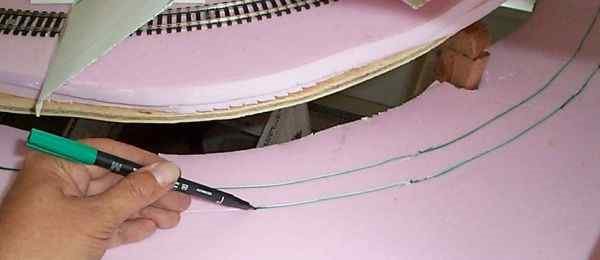
I used green because it was handy, no other reason really. Just make sure it stands out is all.
At this point (if the ties are dry) you can prepare for laying the ties. Put down some white glue.
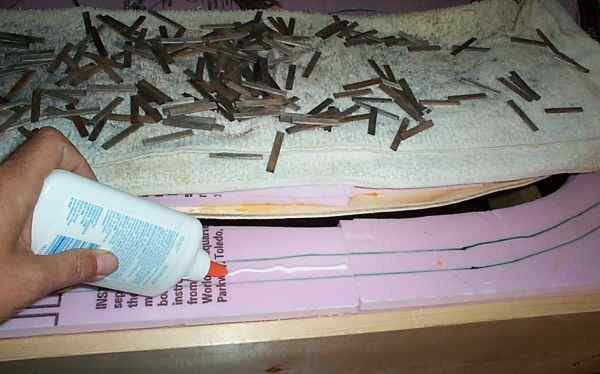
Spread out the glue.
I used a scrap piece of foam. It is flat and won't waste glue. Make sure it is spread thinly and evenly. But not so thin you can't see any glue. Look at the pictures and you can see I have a thin layer.
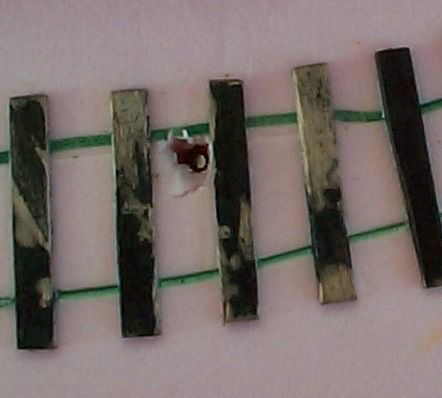
Now lay the ties down.
As the 'lines' represent the 'track' you have to make sure that the ties are even according to these. This will ensure that all the easements and clearances you put into the template will be followed. Ensure even spacing between the ties as you lay them down.
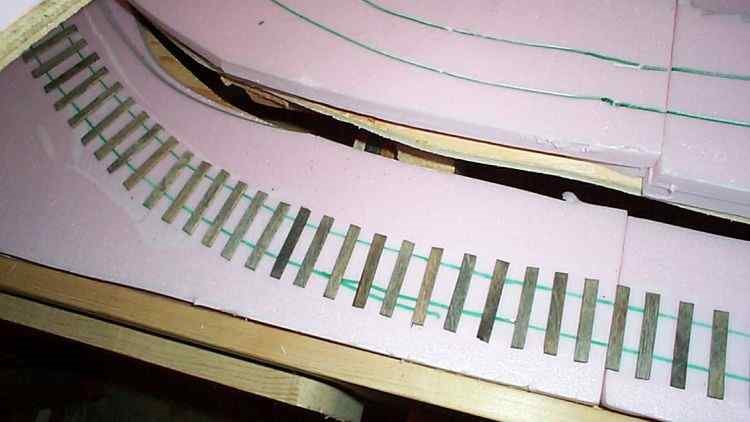
I used about 18 inches for mine, it 'looked' right to me. However you may like 2 feet (half an inch). Use what looks good to you. For this sized tie, 2 feet would not look out of place. As you can see I did not use a ruler etc to lay these down. I went totally by eye and a steady hand. However you can use a ruler or what ever else you find helpful to make sure they are uniform. I prefer the 'not so straight' look and even purposely move some out of place to get that 'look'.
Note: If you use the more proper 9 inch by 9 inch ties, then 18 to 22 inch 'centers' (center of one tie to the center of the next tie) is more proper. When I did the next 'batch' of ties I also made the ties for four of the turnouts as well.
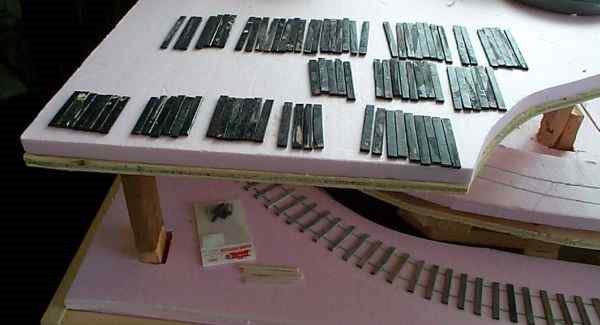
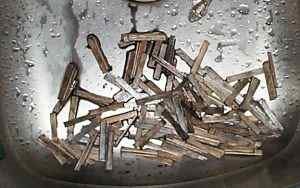
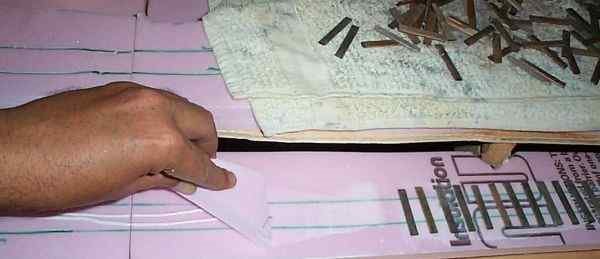
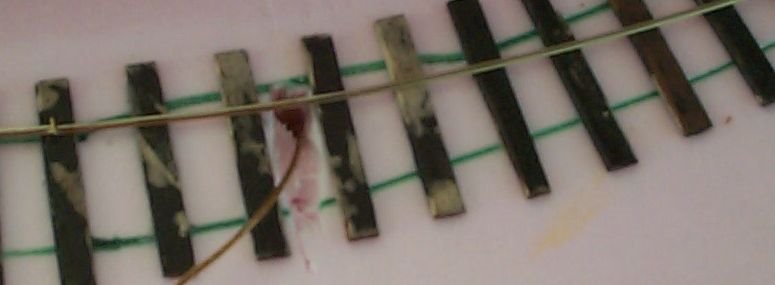
As you can clearly see, the experiment I mentioned earlier really didn't work out too well. The ties are much too dark. Try to learn from my mistake and add water to the paint. I don't "hide" my mistakes as some do because otherwise how will you and I learn? Some ties from the second batch drying.
Ok then, now that we have the ties all laid out, and a couple days for them to dry, we are into the next phase.
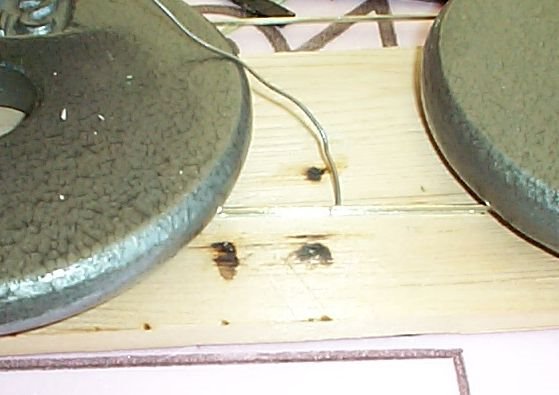
Ok then, next we drill holes where ever we want the electrical blocks to be.

Determine where and how many blocks you want. I have 3 on the lower oval (not including turnouts). This way I can have a loco run into the back area while one waits at the front and they won't interfere with each other. Having only 2 blocks would be insufficient.
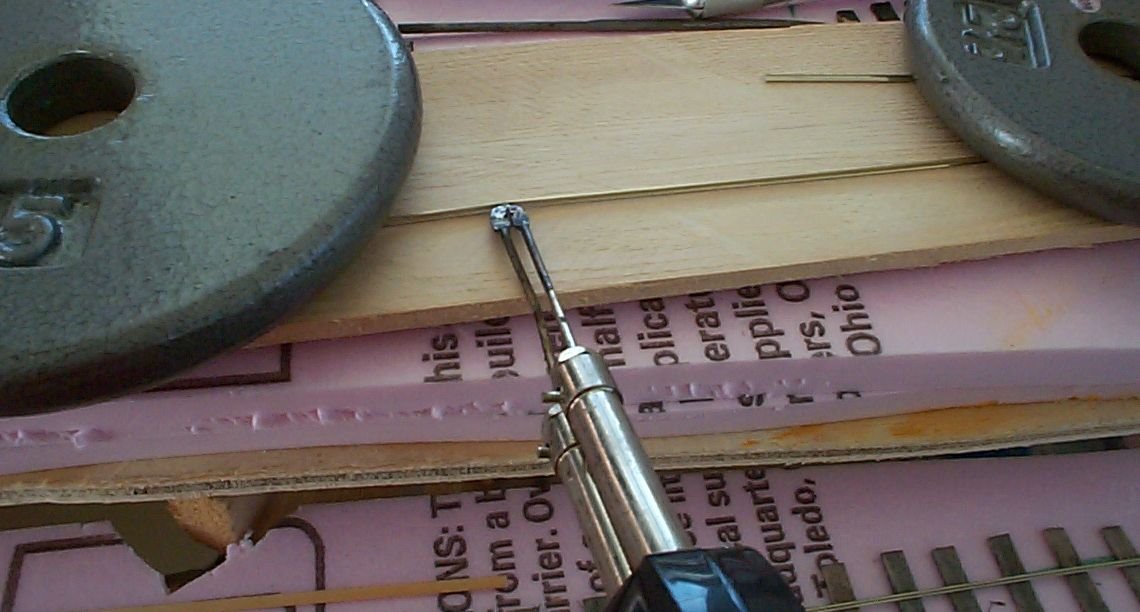
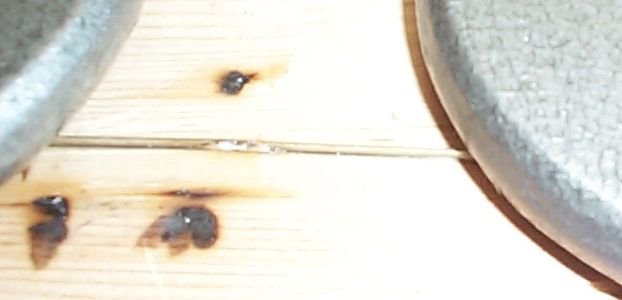
Use at least a drill bit a tad larger then the wire you are putting through the hole you will make. I then also move the drill bit around as I drill so as to make a kind of a funnel shape with the foam. This also makes it easier to put the wire through later. I use my file to clean out the hole.
![]()
I twirl it and also kind of dig out loose bits of foam as well. As you can see in the next pic, I have a hole all the way through that is clean and slick.
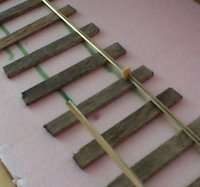
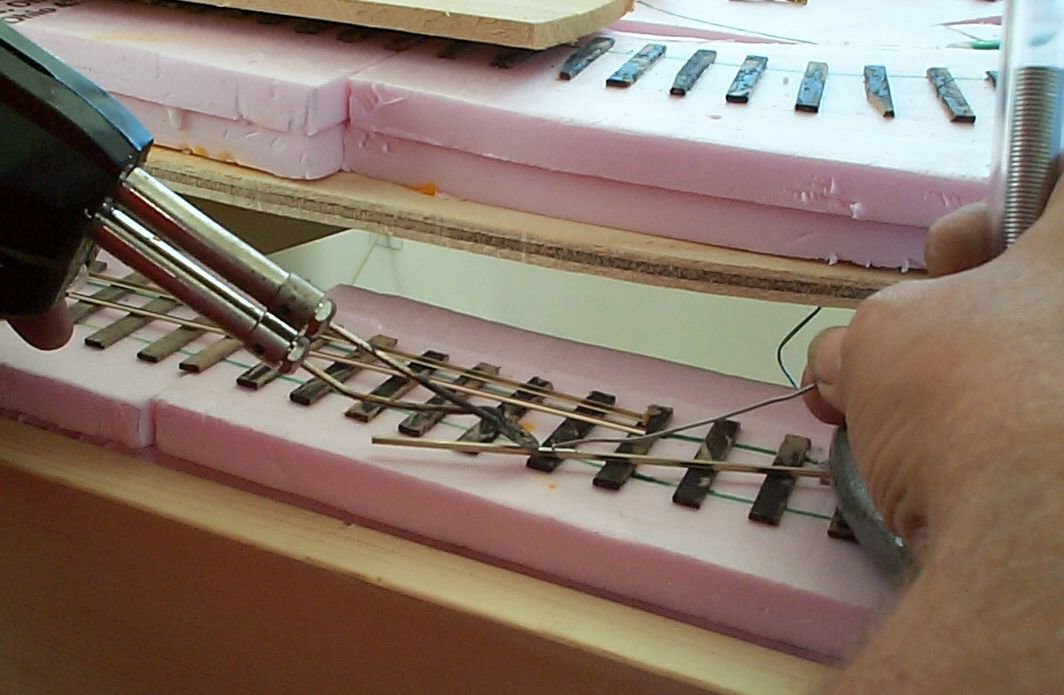
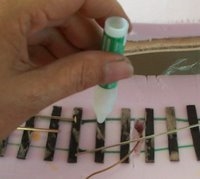
When I lay down the track, I use crazy glue to hold it in place. You do have to hold it kind of hard because crazy glue works in the ABSENCE of oxygen. The wood will absorb some of the glue and pushing down will remove, or squeeze out the oxygen a bit. If this does not work then let the glue dry and later (about a half hour so it cures a bit) you can add a drop more and then try again.
A side note: crazy glue was originally invented to help medics in times of war to hold people together long enough to medivac them. They glue the skin over open wounds etc. Thought you might wanna know.
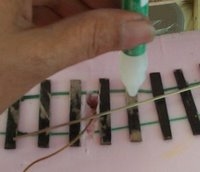
I apply mine liberally. I don't use just a tiny drop. Then I get another rail and line it up using my own jigs (you can buy triangular jigs for about 5 dollars each, buy two though) and glue it down. I glue down about 2 to 4 ties at a time. On curves it is 2 or 3. On straights it is 3 or 4. I take my time and make sure it will stick before going on to the next section.
If it all goes 'sproing' on you do not worry. This happens because we think crazy glue should set in a second. With porous things (like our wood ties) you can forget that. It can take up to a minute, if at all. It might be that you have to let it dry first and then just come back to it. So be patient and hold it in place for a few seconds up to a minute. Any longer and don't bother, let the glue dry instead.
I have been doing this for years and have had no problems with it. One thing you should know though. When lining up the track, if you just can't get it right and want to redo the whole section then by all means do so sooner rather than later. If you wait more then a day it may set enough to be difficult to remove. If you do it within 12 hours say, then it is almost silly easy to remove. Crazy glue, like ALL glues and epoxy, does have a curing time. Some say 2 hours. I find after a day though it becomes very difficult to remove.
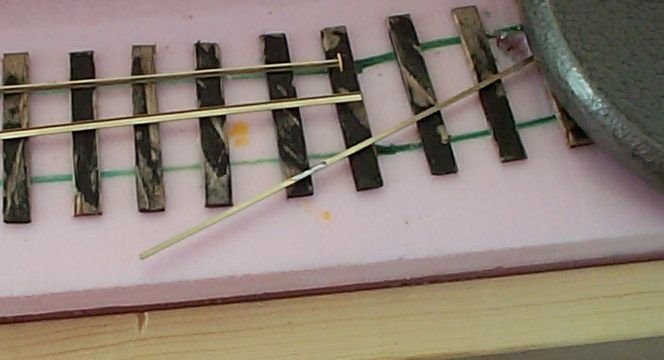
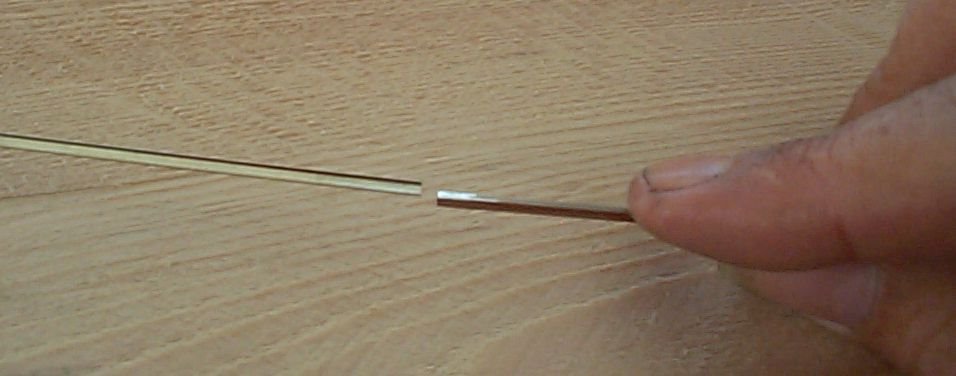
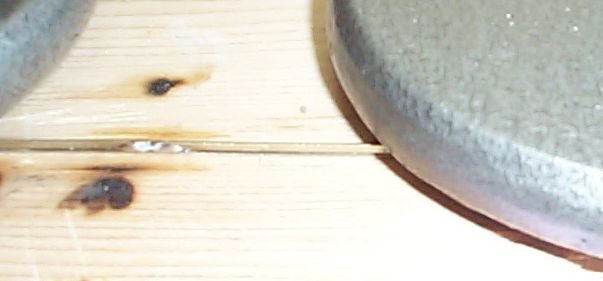
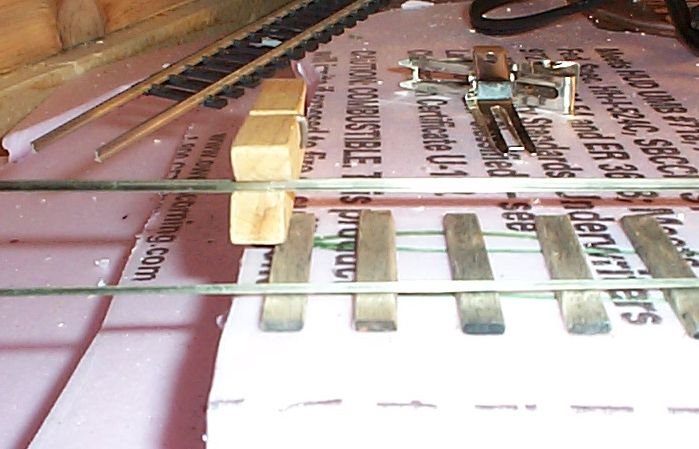
Next we will add a wooden spacer.
![]()
Why wood? I find it handy and I just use wood for as much as I can anyhow. You can use plastic if you wish. Then I clip the wood after it has dried.
![]()
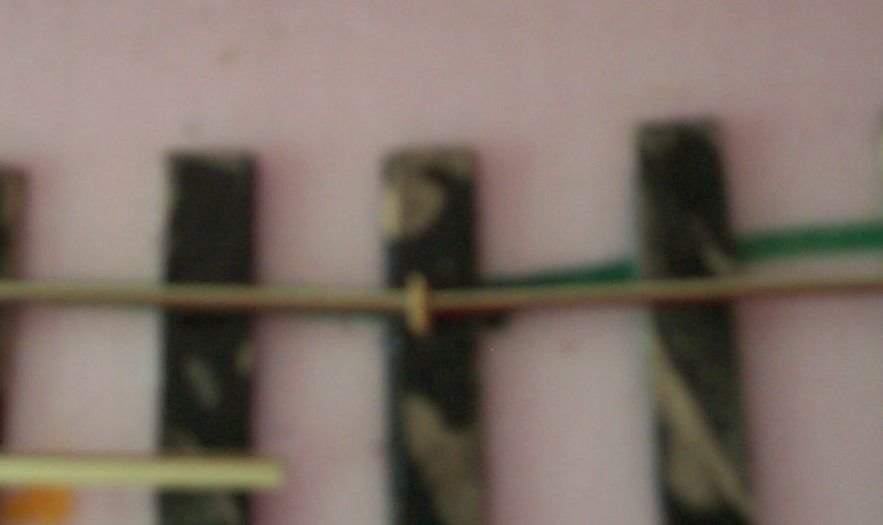
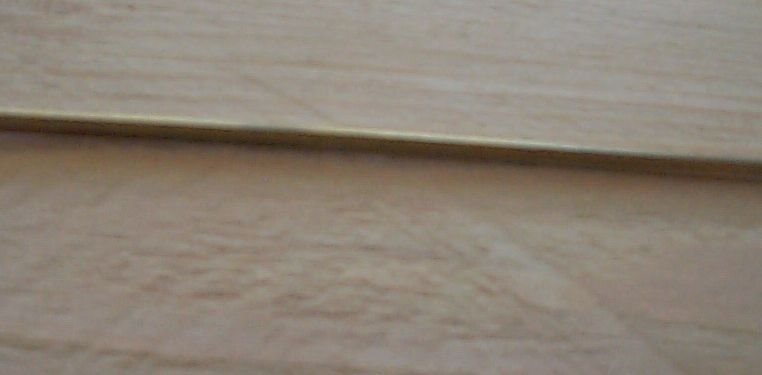
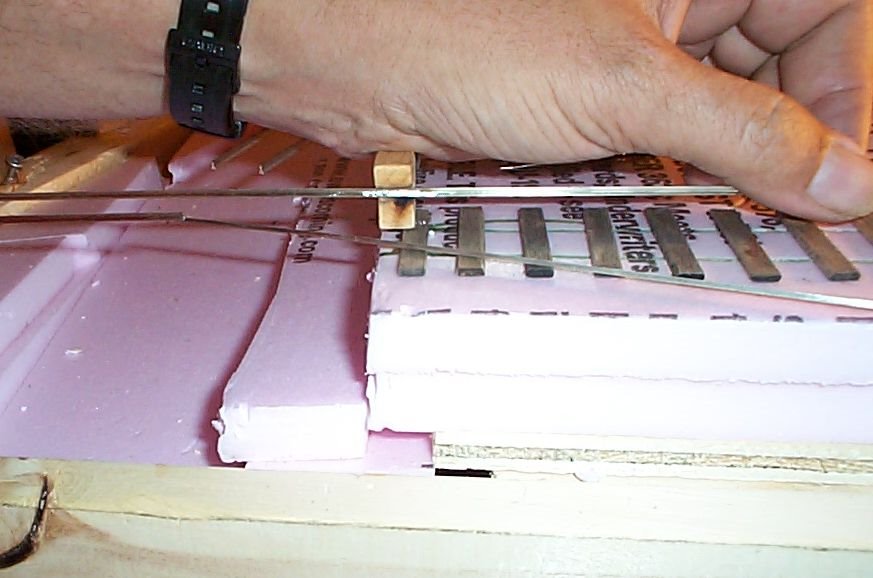
Then I add the next rail (glued in place) before filing down the wooden spacer after it all dries. As you can see the space is tiny and almost invisible, except of course for the close up and a flash camera LOL.
But for the most part, you won't be able to see it. Here are some more pictures of the steps I took.
![]()
![]()
![]()
![]()
![]()
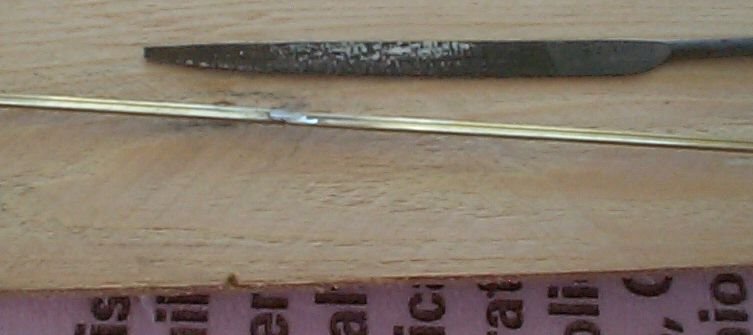
Ok then, now we prepare the rails for wiring. Measure the rail to the hole and file it enough to make a mark.
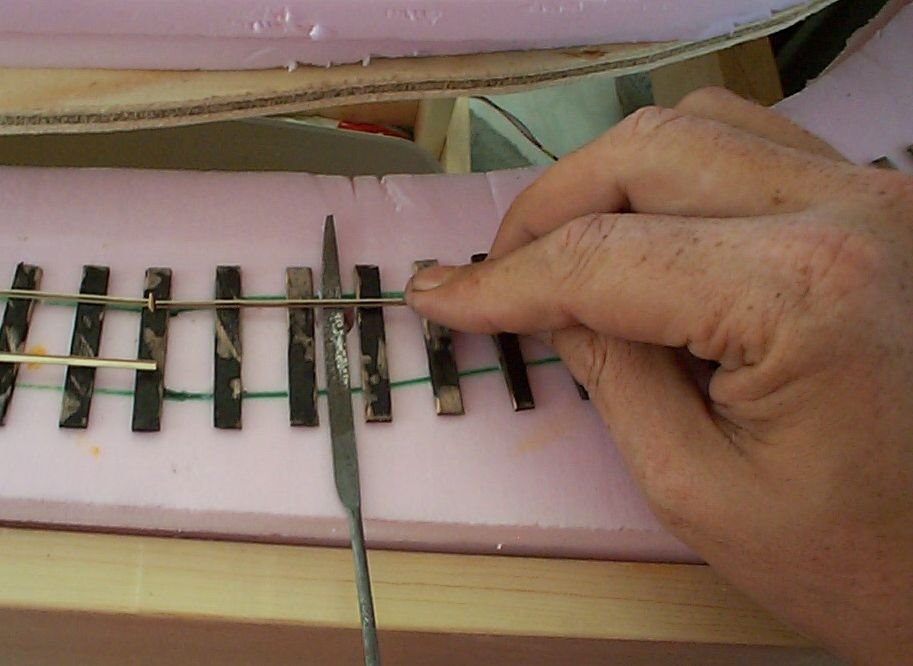
Turn it over and continue filing until it is clean.
This will take only a few strokes to remove any oxidation, dirt etc.
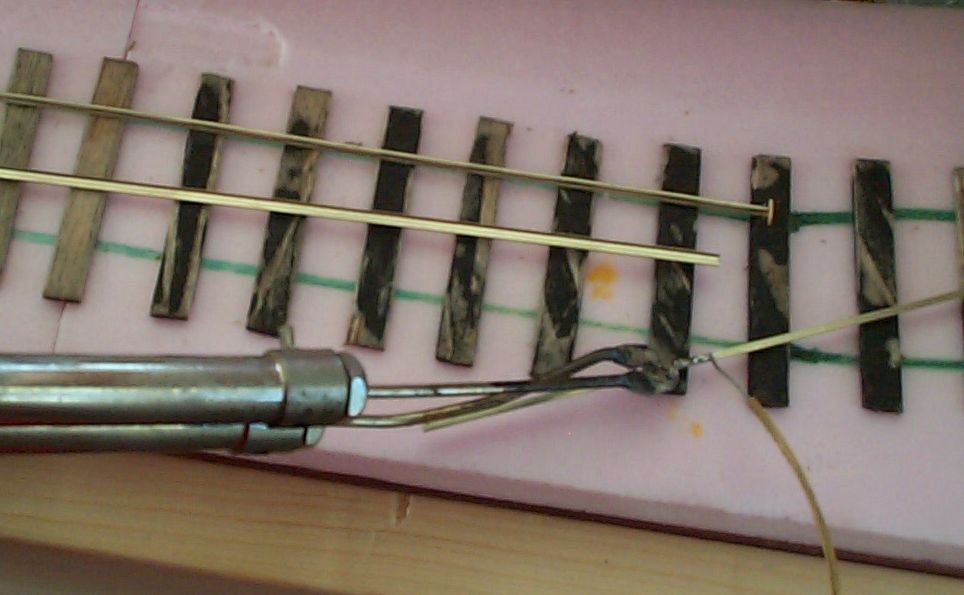
Add a drop of solder to the underside of the rail.
NOT the side, but the underneath part.
Heat the rail with the iron and touch the solder to the rail (not the soldering iron), soon the solder will melt and go where you filed. Next, strip off about one inch from the end of your wire.
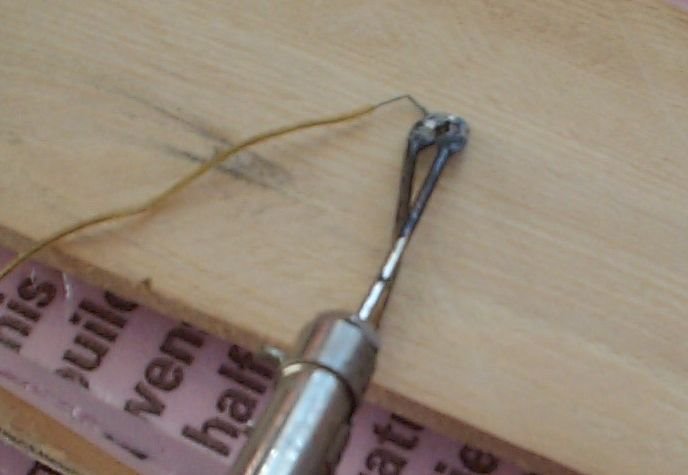
Here I used number 20 wire simply because it was handy. Twist the wire end lightly and make a bend in the end of the wire about 1/4 inch.
Add solder to the wire.
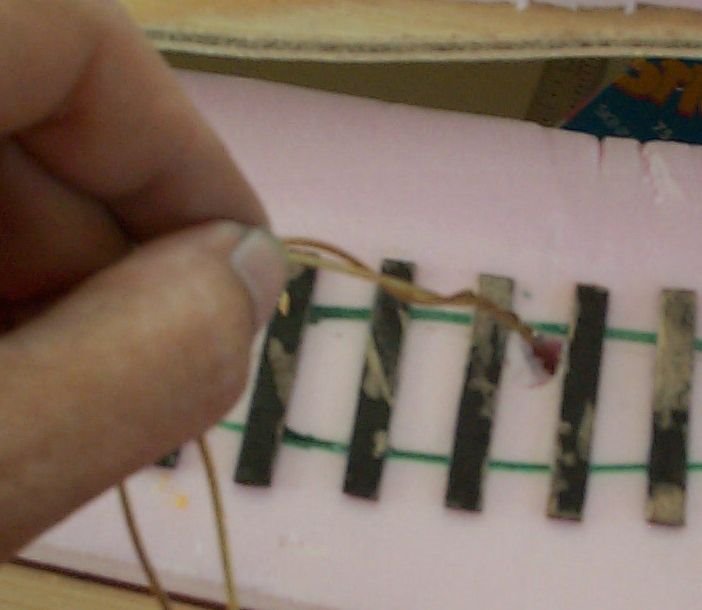
Hold the rail in place using weights. Also, I put a scrap piece of wood on the work area. In this case the work area is the layout and a hot iron will go through the foam pretty fast. On top of that, the fumes are toxic. So use a piece of wood. Now heat the rail and 'push' the wire end on to the rail until the solder melts on both.
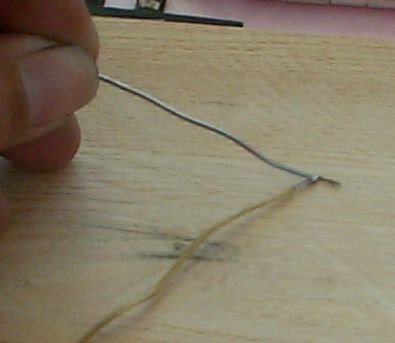
Remove the iron and wait about 15 to 20 seconds until the solder cools. Then wait about a minute more and give it a tug. If it holds it worked. If not then redo it. Make sure you heat the metal and not the solder itself. The solder 'sticks' to the hot metal. Just melting solder on to the rail and wire will not work and the joint will fail. Now twist the two wires (you need one for each rail) together...
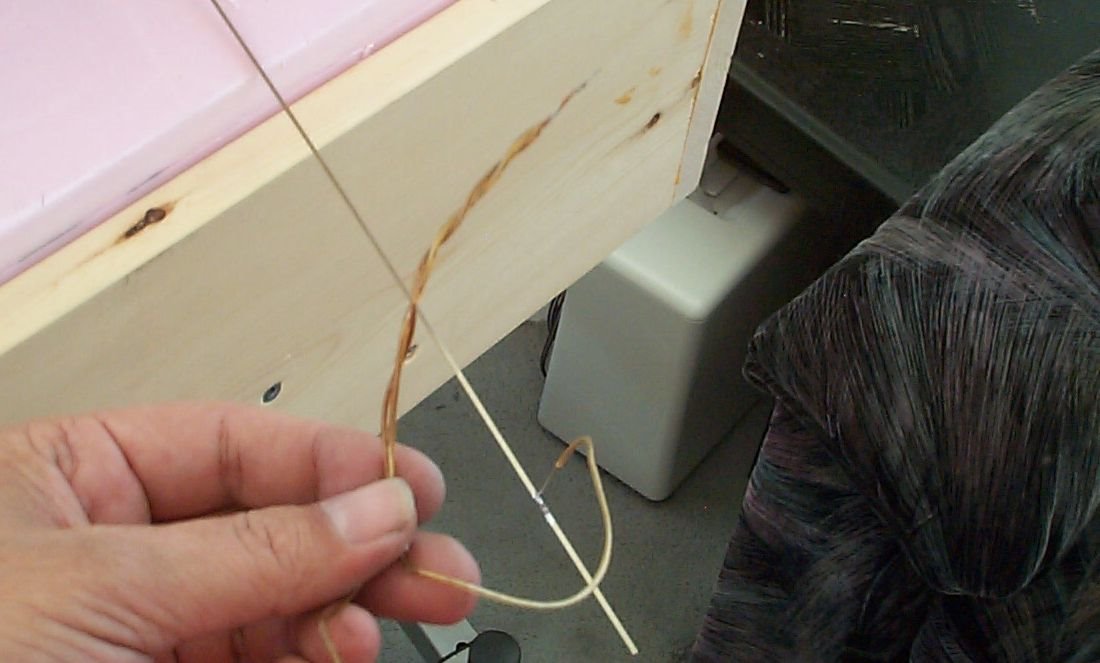
...and push them through the hole.
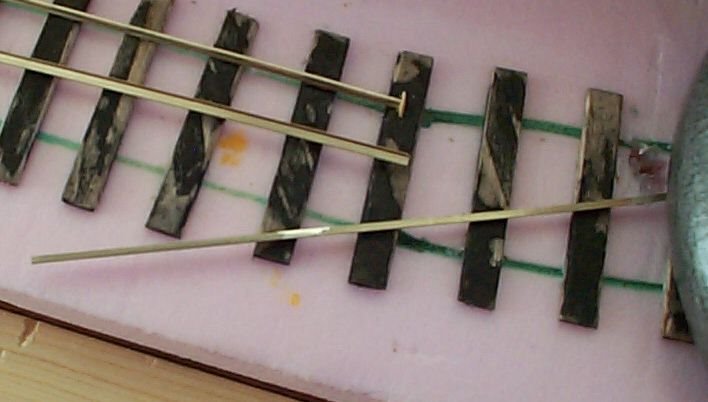
A word about the wires. I use just about anything really. But I have found that using speaker wire is best for one reason. It is different colors and I can see them easily. One idea you can try is using the Copper one for the Common rail. That's what I did here. This will help you keep things straight later on when we do the control panel, among other things. So I use the copper for common and the silver for the other. That will makes things easier for you in the long run. Now glue the rails, about three or four of them.

Line up the rail as best you can (sorry it is fuzzy).
More over, every effort here now will make for less effort later.
Look STRAIGHT down on the ends of the rails to make sure they are lined up and then hold the rail in place until it is set. Another couple of views, this time a curve.
Again, I glue about 2 or 3 ties on curves, line it up an press. That's about it really. Not that difficult at all really. Just do one step at a time and before you know it you are done.
So what do you do when you need to add rail that is NOT blocked?<br /><br />Good question. I wish I could answer that but... Just kidding :) First I file the ends of the rails lightly for about half an inch (1.5 centimeters about).
I file ONLY the sides of the rails.
By the way I am using code 83. Why? Because the guy sold me 150 rails (about) for 20 cents each. Considering they are usually $1.80 per rail, I scooped them up. He does not sell much loose rail and was tired of holding on to it so knowing I do hand laid he asked me if I wanted to rid him of it. I said sure :) So I saved a lot of money. Otherwise I tend to use code 100 for mainline, code 83 for yards and such, and code 70 for sidings that are old. Although I once did code 55 for HO scale once. Too small for me.
Ok then, so file down the sides of the rails. If the file edge does not fit (like mine didn't) then use the corner and scrape the spot on the inner edge until it is clean. Next I hold the rails in place using a weight on each end.
As you can see there is no space between the rail ends.
Then I apply the iron to one side...
...and solder to the other...
...and heat it until the solder melts.
Sometimes it melts to the other side and sometimes it does not.
If it does then great. If not then add the iron to the other side quickly and apply the solder to the opposite side. It will melt fast enough. Note; having only two hands, I could not hold the iron and the solder and take a picture at the same time, so combine those two photos to make one pic. If I grow some more arms I will try to do better LOL) :)
Make sure you let it cool for a minute. If it is hot to the touch then don't touch it. The solder melts at a low temperature and so it needs to cool down. Too many people move it too soon and say it doesn't work. Yes it does work, you just need to be patient is all. Once cooled it will be fairly strong. But remember it is just solder and solder will bend. So be careful and it will hold well for you. As for how many rails to solder together. I have never had any problems with 3 rails (about 9 feet) soldered together. But then again I also glue my rail down just about every tie too. So mine does not move much, if at all. Now file down the excess solder and you are done.
If as you are doing a bridge section (like in the next photo) and the rail is suspended in mid air, how do you solder it? Try using a clothes peg like I did here.
It is tricky I can tell you that, but it is doable. I held it in place with my palm and the rail between my fingers.
Be careful as the soldering iron is hot enough to hurt you badly. You could put a piece of board under the clamp (peg) so you can hold it in place. Spanning the gap with a scrap piece of foam or plywood for instance. It is kind of fragile as any pushing knocks it off. If you have a stronger clamp then use it. One word of warning though. If it is soft metal or plastic IT WILL MELT. That is why I used the wooden clothes peg. Anyhow, as you can see, it is doable. You just need a light touch and patience. I hope that helped.
This concludes laying track. I hope you have found it helpful. There is not much to it really. Mostly it just takes up your time. But I like the results and so I don't mind the investment in time. After all, it is not a race.
Next up, I will (try to) show you how to make stub switches. I don't make them like other people do. As a matter of fact. I show you FOUR different ways to make them too. :)
©2009/2021 Stephen McCallum, https://www.modelrailroadtips.com