Creating Custom Snow Plows
Article reposted by the generous authorization of Pat Durand's son Casey.
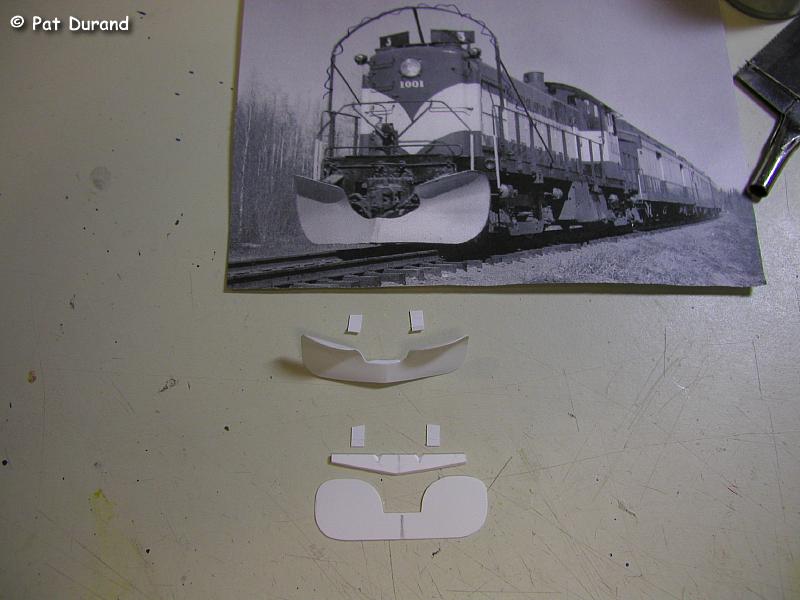
Yes, you too can build Alaska Railroad snow plows. Do it just like the railroad did, one at a time. You will notice that there are no two plows exactly alike except on the SD70MAC units. A template and a few examples are included here to help you get started.
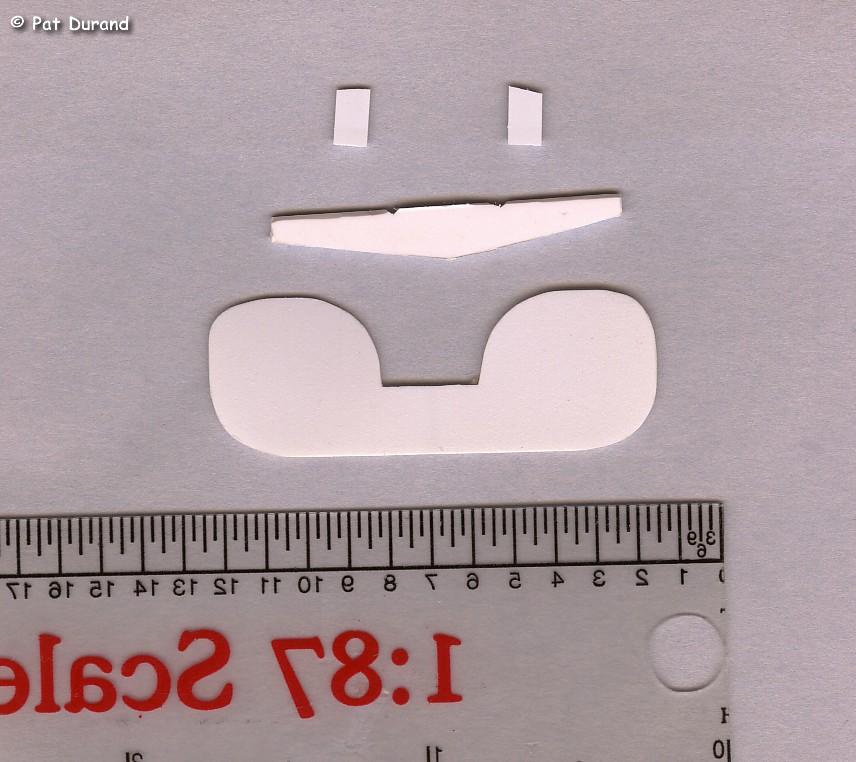
The template can be printed on your computer printer at whatever scale you want. Just blow it up or shrink it down until the printer output matches your scale ruler when laid over the template ruler.
Start with a chunk of .015 to .020 styrene 1.5" X .5". That is about 1" scale thickness. Use the template provided here to make the basic shape and make cuts with sharp scissors.. You could do this in brass if you like and it would probably be quicker but when you derail, it can cause an automatic short! Cut out the basic shape and then use a 1/8 inch rod as a mandrel and slowly bend the flare curvature until it matches your prototype. Styrene has a memory and you must defeat this to be successful. Get the shape you want and then quickly paint both sides of the bend with Tenex plastic cement and let it cure while you hold the curve. In about 5 minutes the new memory is the bend you have created.
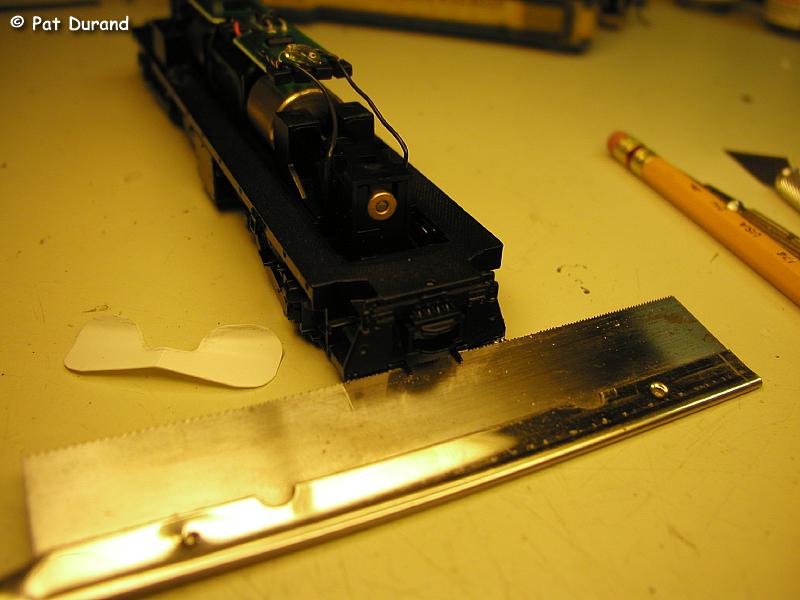
If the loco you are using has foot boards, modify them so the base plate for the plow can be fitted to sit on top of the foot boards. Use at least 1/16" styrene for the base plate. On the Atlas RS1, I notch the foot board bracket and trial fit the base plate. Before attaching the plow to the base plate, make a light scribe line at the vertical center line on the back side of the plow to facilitate a nice sharp bend at the point of the plow. Now angle file the lead edge of the base plate for a good fit to the back of the plow and join the two pieces with Testors Liquid plastic cement. Mate these parts so the bottom of the plow will come just below the bottom edge of the old foot boards. Let that assembly cure overnight.

Now the fun starts. Check your prototype photos and use a sharp blade to finish the final plow outline to match. I file the edges of styrene using finishing sanding boards for artificial finger nails. They come in many fine grits. Use ACC to attach the plow assembly to the foot boards, and then add the top braces with ACC to metal and Tenex to plastic. Let it cure. Now do a final trim and paint it out.
[Editors note] Orginally posted on https://alaskarails.org/ARR-modeling.html