
Scenery Basics Part 1
Scenery is fundamental to a layouts reality. There have been many techniques published in the hobby media through the years, while the techniques shown here aren't new, I figured I'd show you how I scenic my layouts.
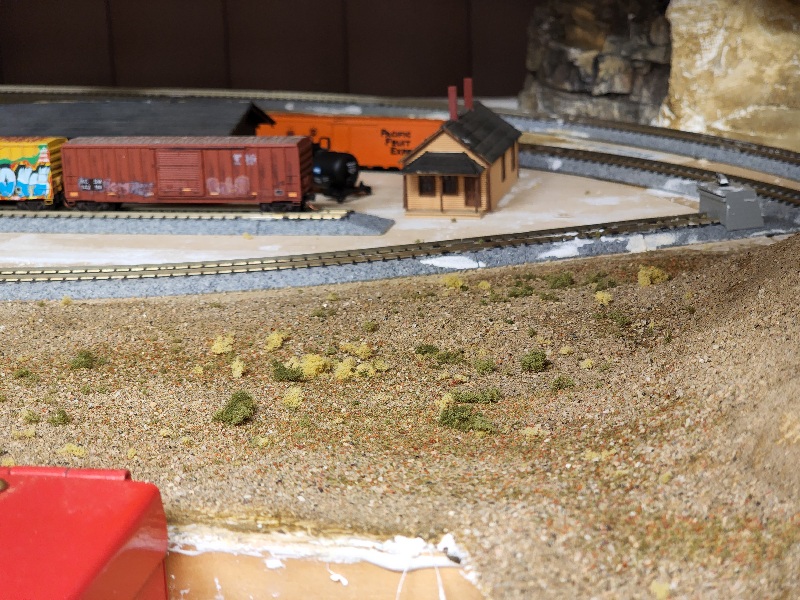
This scenery isn't on my own home layout, however I am primarily responsible for the completion of the layout for my employer. This layout can be viewed at the Old Town Model Railroad Depot in San Diego CA.
Basic hardshell scenery techniques were used to make the scenery base. Plaster cloth over cardboard strip, was then painted with Woodland Scenics earth brown undercoat paint, thinned 25/75 paint-to-water.
I then collected the materials needed, I used sifted decomposed granite from Home Depot, and various dry and burnt grass ground foam colors from Woodland Scenics.
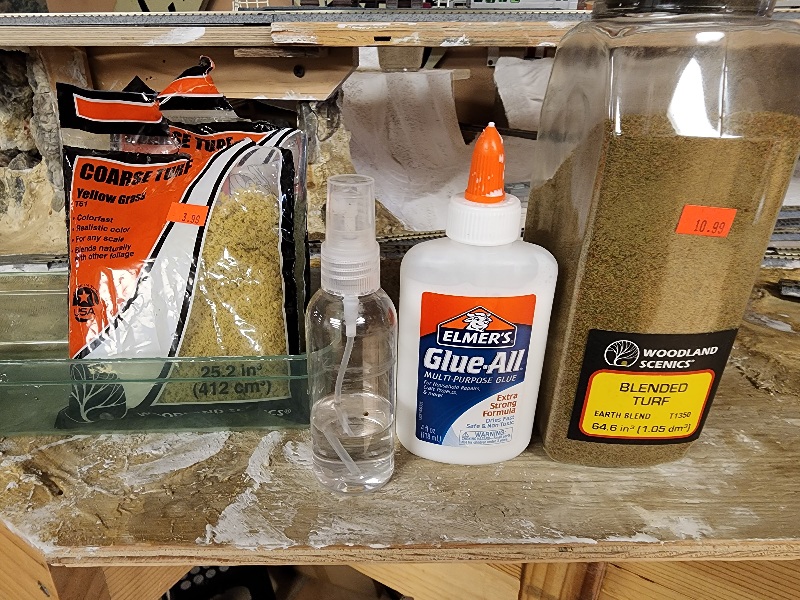
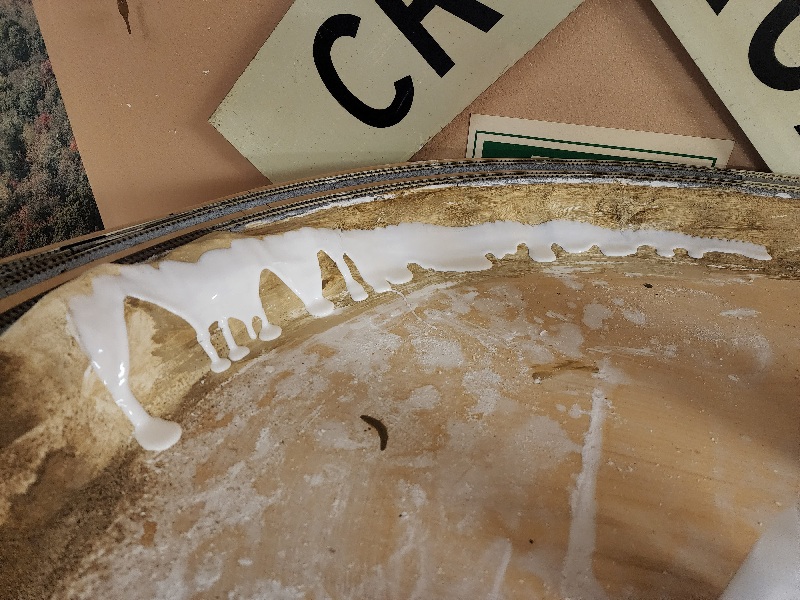
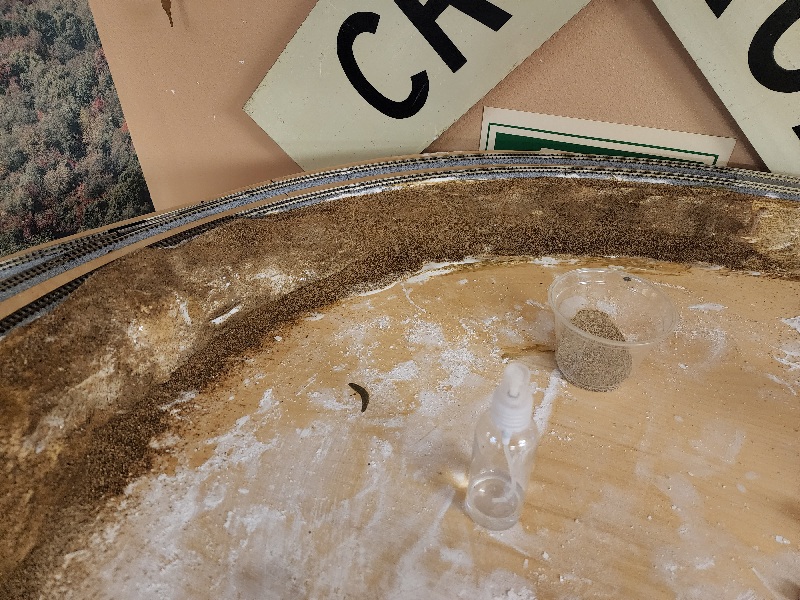
I then spread Elmer's Glue-All over the scenery. You can thin it out, or use full strength glue, depending on the slope of the scenery.
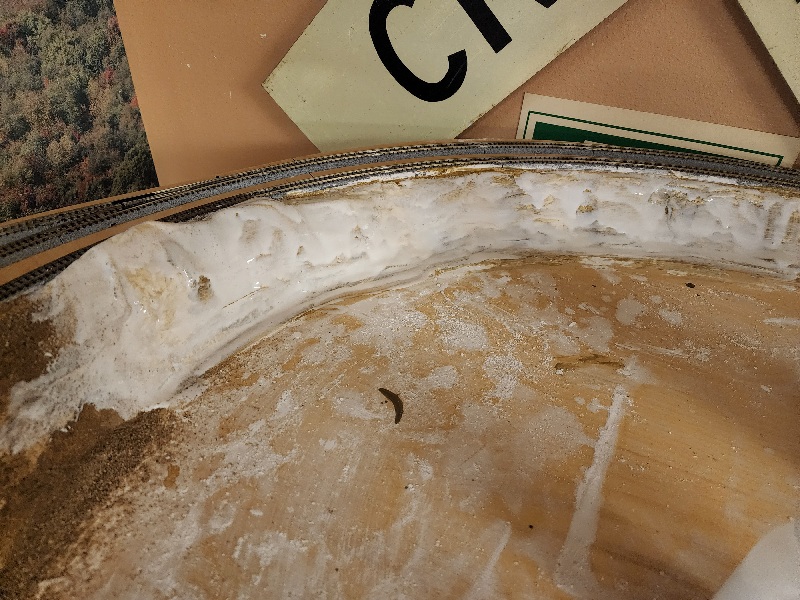
I sprinkle the decomposed granite over the scenery base, coving up the spread out glue. I then mist the decomposed granite with 70% isopropyl alcohol, making issue it is sufficiently soaked.
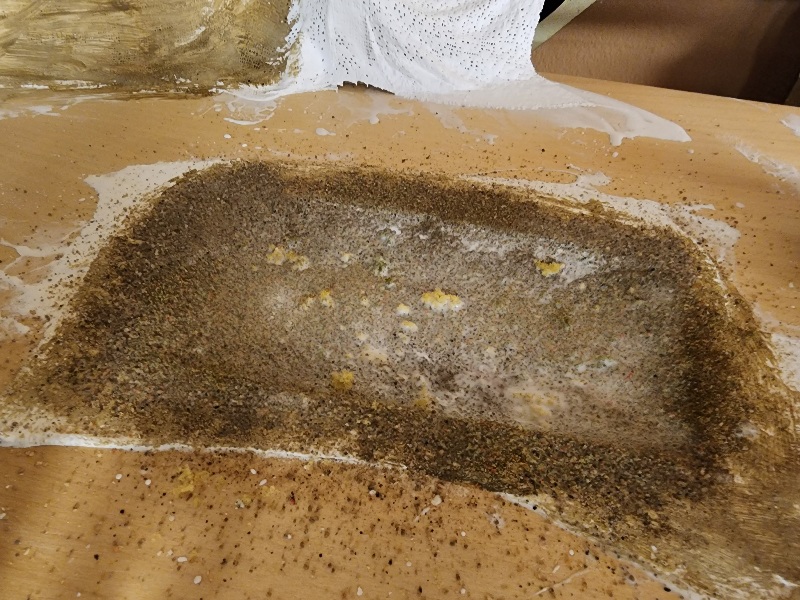
Thinned 50/50 Elmer's Glue-All to water, is dripped over the wetted decomposed granite, and then the light blended turf is sprinkled onto the wet scenery. The materials will soak up some the of glue and stick.
I'll then lightly sprinkle coarse turf into the wet scenery material. Sometimes you can lightly press this into the glue to soak some up, or carefully drip some glue onto the clumps.
This layout shown is N scale, so the clumps should be relatively small, HO scale you can use larger clumps.
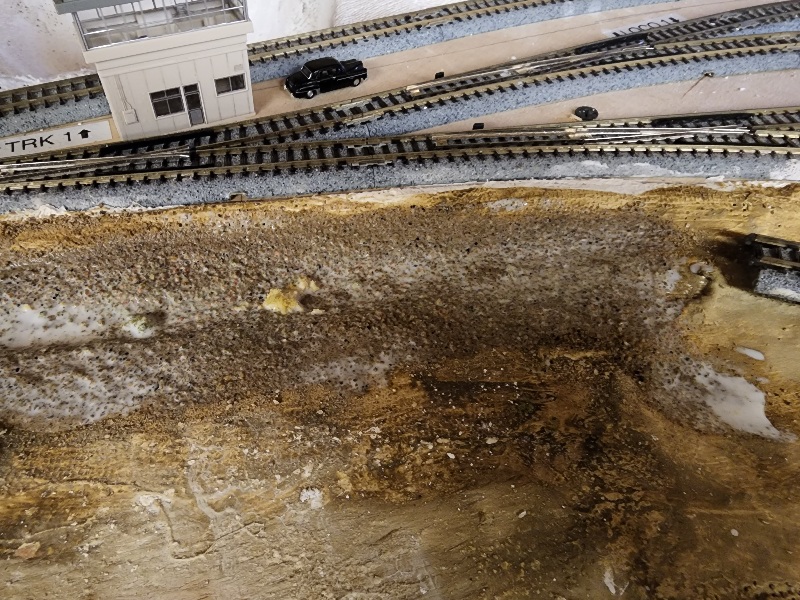
Low spots collect more of the glue, in that case you can carefully touch the corner of a paper towel to soak up excess glue, or sprinkle in extra decomposed granite. Bring real dirt, it'll soak into the glue.
Let dry over night, then you can add larger trees, bushes, or static grass.