Bulgy Gondola Sides
Excerpt from the Model Railroad Tips newsletter, Volume 1 Issues 2 through 4.
Modeling bulgy sides on gondolas (and other cars) has always presented a challenge. We're faced with
a decision, heating the sides of the car, or building it up with some modeling medium.
Recently I took on this challenge on an Eastern Car works PRR G26 gondola kit. I started with an
undecorated gondola kit. I'd recommend this as the technique I'm about to show requires painting over.
The final gondola will be painted in a semi-freelance Conrail paint. A small number of the G26 series
made it into Conrail paint, however I've never found a photo online (if you have one, please reply!).
I began by assembling the car, though you can do the work on the flat car sides.
Exterior
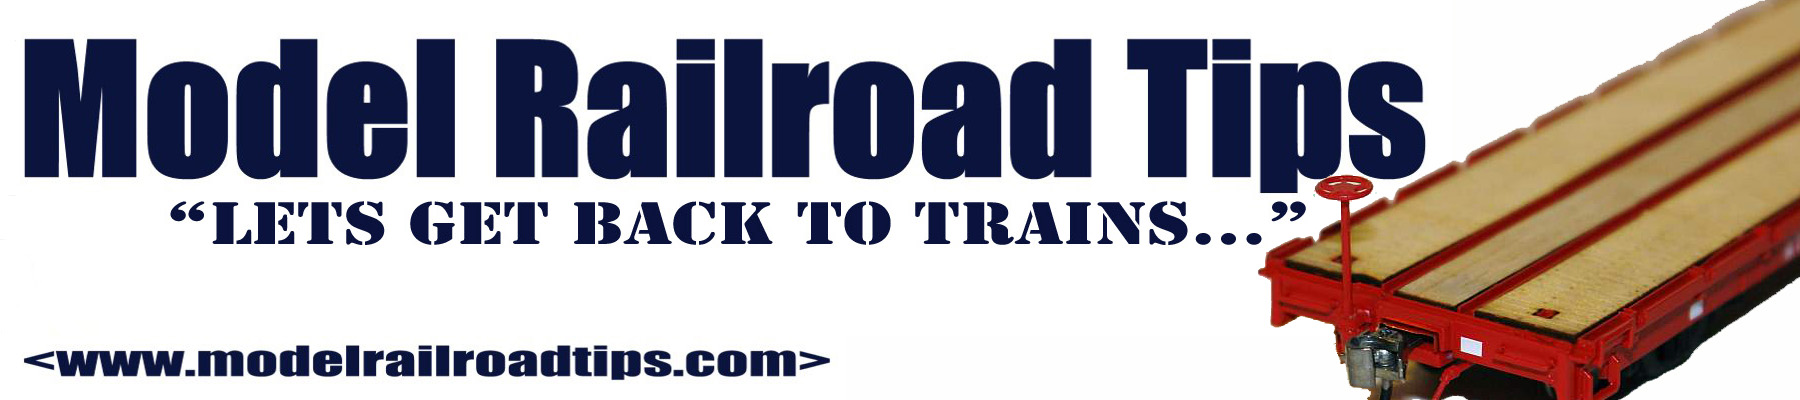
To add the bulge to the exterior of the car, I used Squadron green putty. Using a curved clay modeling
tool, I press the putty onto the car sides, between the ribs. I add about half a millimeter thickness at its
deepest in the middle of the panel, tapering off to the edges.
The putty will end up a but uneven, but do not worry, this is a good thing! Allow it to dry, then sand it
with a emery board. The putty does not have to be perfectly smooth, as long as you take any sharp
edges off, you'll be fine.
Sanded bulges are to the left, the Right most four being un-sanded.
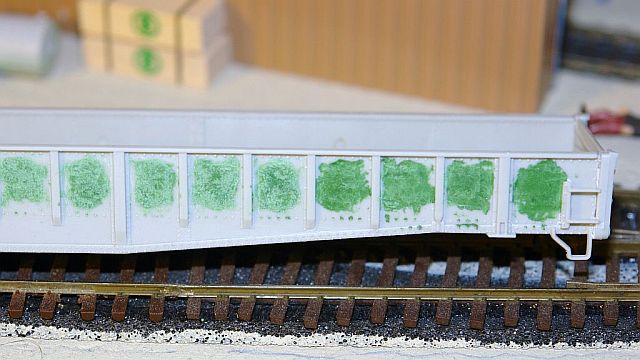
Primed bulgy panels, ready for painting, which will be completed after interior work.
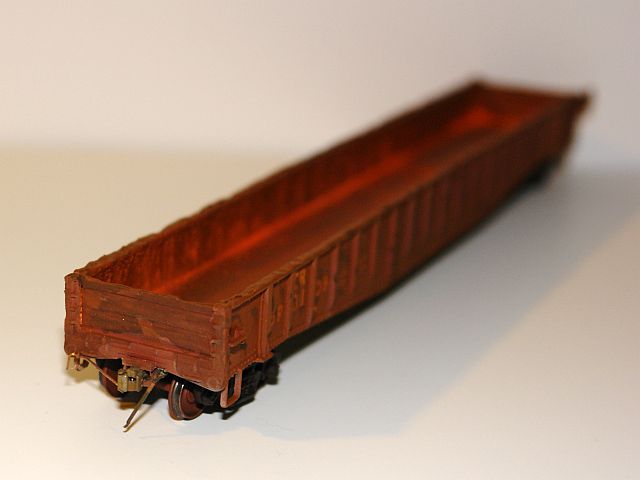
Interior
This is not required, if you're a but nervous about using motor tools on you models. If you're planning to
add full interior detailing (I.E. a scrap, or gravel load in a gondola, or a coal load in a hopper), then this
detail will be largely unseen and an extra unneeded step.
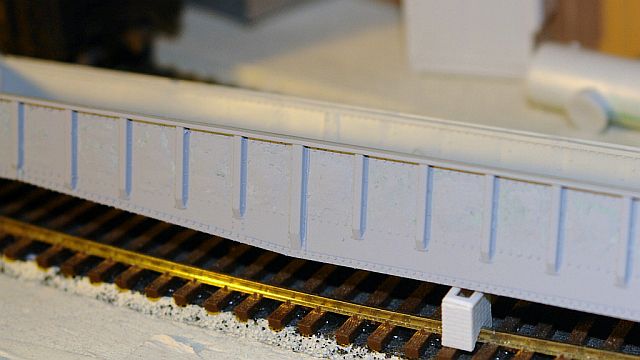
I used a Dremel motor tool on its lowest setting to do the removal. Work slowly, and lightly. Remove a
little plastic at a time until you've developed a satisfactory bowl on the inside of the panel.
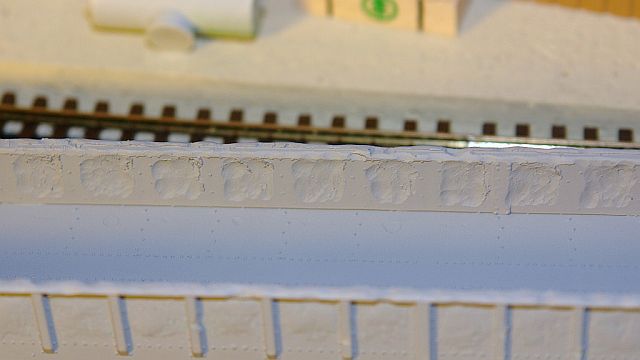
As you can see, there's a little left over plastic shavings. I chose to leave some for texture.
The top structural member has been sanded with a Dremel as well.
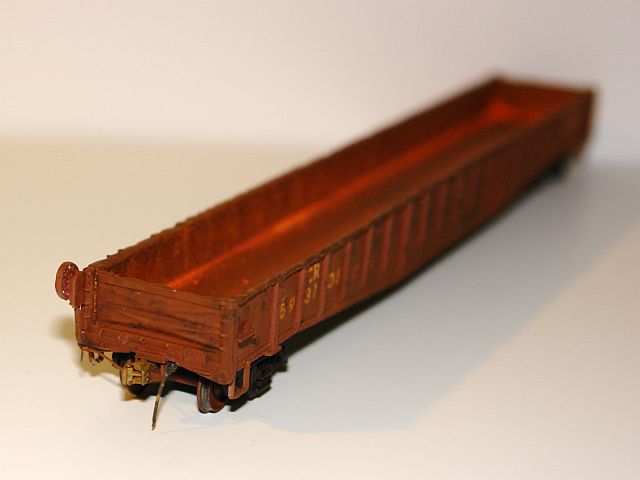
Now for some details. I replaced the cast on coupler pockets with Accurail scale sized pockets, which
were provided with Sergent EN87 couplers. If you've never seen either product, I suggest you check
them out. The Sergent couplers are the best scale couplers ever produced in any scale, in my mind,
and coupled with the scale sized pockets from Accurail achieve a new level of detail never before seen
in HO scale. They're about 75% of the width of a standard Kadee sized pocket.
Only a very short section of the lid was used, and was notched into the Gondola end. The rest of the pocket uses the floor of the gondola as the "lid".
Coupler cut levers are scratch built with a section of .015" brass wire, and a Detail Associates eye bolt.
Realistic rubber air hoses from Hi-tech round out the coupler pocket details. The air hoses will be
added after painting. I chose to use 70 ton trucks from ExactRail on this car, which use code 110
wheels. Comparable detailed trucks are available from Athearn in the Genesis line, and they include
code 88 semi scale wheels, with "rolling" bearings. I chose the ExactRail product so that I could test
them out.
The car's bolster causes the car to ride high. It was trimmed down before painting, flush with the
chassis. This causes the car to ride a tad low, so a Kadee washer raises it up a to bring the coupler in
gauge.
This car's recommended weight is 5.5oz to 5.75oz (it measures in just over 9 1/4"). The car is quite
hard to add weight to. I'd suggest using some lead shot on the underside of the car. I used steel BB's,
which are slightly lighter, installed with CA. I then poured some powdered tungsten (available at golf
shops), which is slightly heavier per volume then lead, though is non toxic (unless you inhale the
powder!). I pour CA over the powder, then once it's soaked in, add a little more, then mist it with CA
insta-set. I managed to get the car up to 4oz using tungsten powder and the steel BB's.
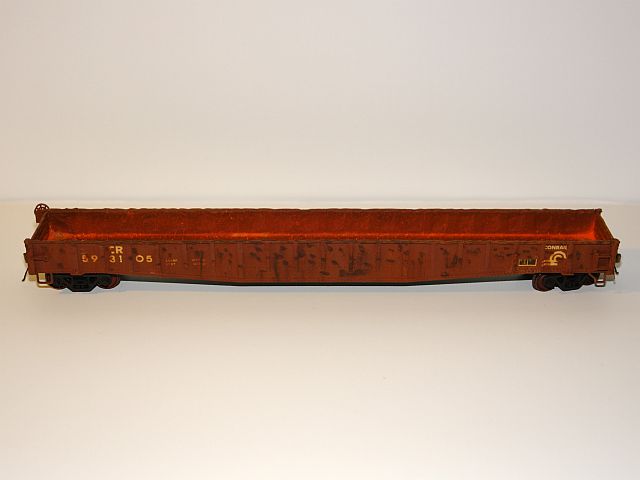
Paint, Decals, Weathering
I used Floquil Oxide Red paint to paint this car. Decals come from Microscale 87-332.
Once painted and decaled, dullcote the whole car to protect the decals. I then used a custom "fade
mix" I've made up, using about 1 part Model Master Radome Tan enamel to 10 parts dullcote, then a
2nd weathering mix of 1 part Testors tan enamel, to 10 parts dullcote. These tow mixes go on thin, so I
can slowly build up the color to be what I'd like. The tan mix helps to tone down the lettering.
Rusty spots are added with gouache, and streaked with Microsol. The technique for this is best
described by Rich Divizio, from ModelTrainsWeathered.com (if you don't know Rich, watch a Mortal
Combat movie, he plays "Kano"). The interior is accomplished with chalks laid on heavily and sealed
with dullcote.
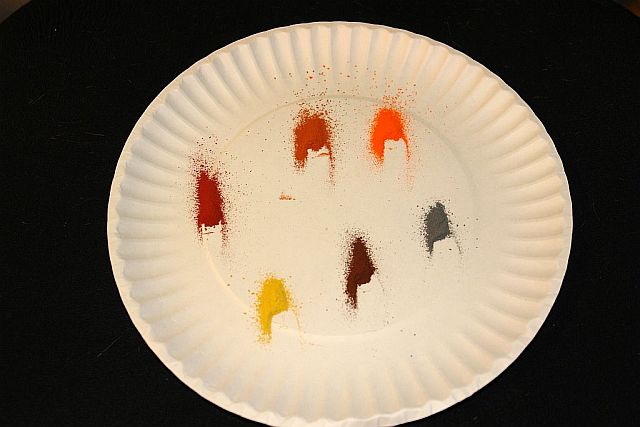
Chalks on a paper plate ready for weathering. I use an old blade to scrape the chalk into a pile on the plate. I then used a soft brush to stipple the chalk into the car.
The trucks are from ExactRail, the 70 ton roller bearing version, ExactRail #ET-104. I replaced the
standard wheels with 33" code 88 semi-scale wheels from Intermountain. The trucks were sprayed
Krylon Camo Brown. The wheels are Rustoleum Rusty Metal primer, with a dusting of some thinned
black paint, with an airbrush. I used wheel masks from American Model builders for the wheels.
After the weathering was accomplished, I re-installed the Sergent EN87 couplers, and ExactRail trucks.
Here's the finished product.

© 2010-2011, 2019, Josh Baakko, http://www.modelrailroadtips.com