Weathering an ExactRail Greenville Boxcar
This article shows how I accomplished patching and weathering of an ExactRail Greenville 60' double plug door boxcar. Patching, repainting the doors, adding rust and some decals. Also, note there are TWO videos showing two of the weathering techniques used here.
I picked up this ExactRail Greenville 60' Boxcar at the RPM West Coast meet in September. I've been wanting one of these big boxcars for some time. ExactRail does produce the model in pre-patched paint, with NYC reporting marks, but the vendor only had a Conrail one there, close enough for me. Be sure to check out ExactRail, they were a Model Railroad Tips advertiser!
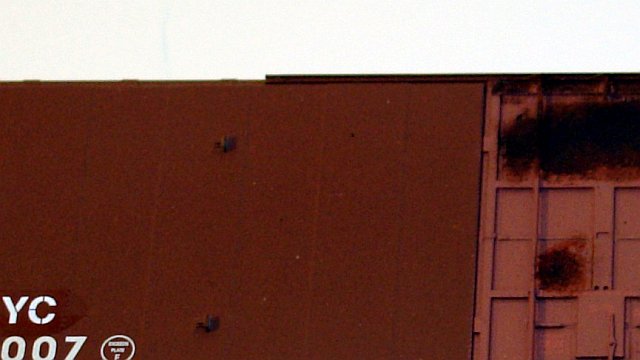
I searched the internet for some photos of Ex-Conrail, now NYC patched cars. I came up with a few, but not the road number I had, so I based my model on the following photos:
http://rrpicturearchives.net/showPicture.aspx?id=788580
http://rrpicturearchives.net/showPicture.aspx?id=1664979
http://rrpicturearchives.net/showPicture.aspx?id=562609
To begin the process of weathering the model, we need to remove the reporting marks. I've mentioned in a previous article about using Removing printed on lettering or numbers, but for this project I switched to a trusty stand by. I used a fine grit sanding stick, 600 grit I believe.
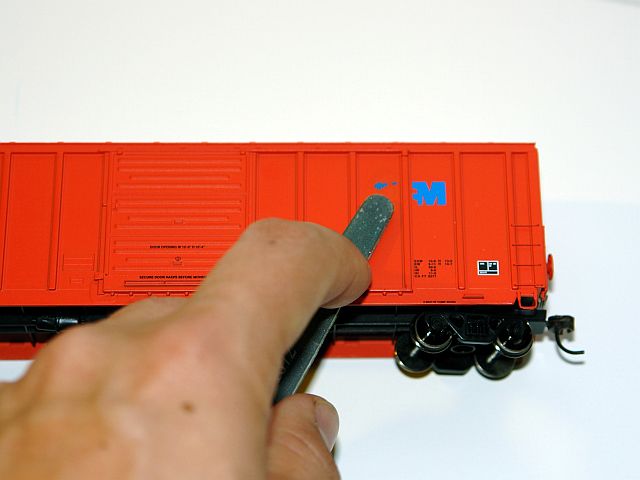
Sanding the logo off of a St. Mary's boxcar, same process, different car.
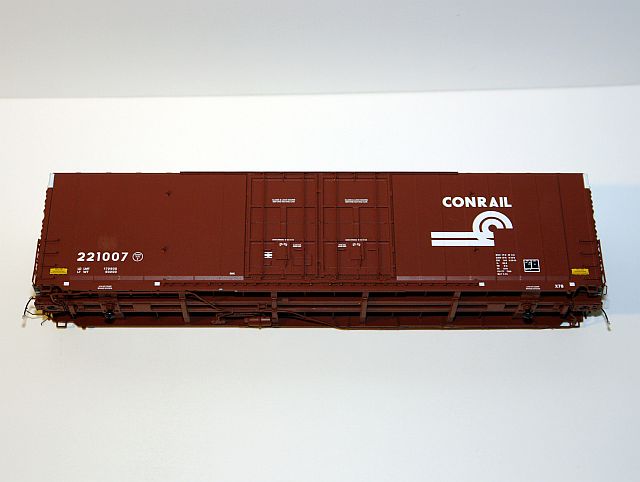
Reporting marks removed. I kept the original road number, as only the lettering was patched out on the prototypes.
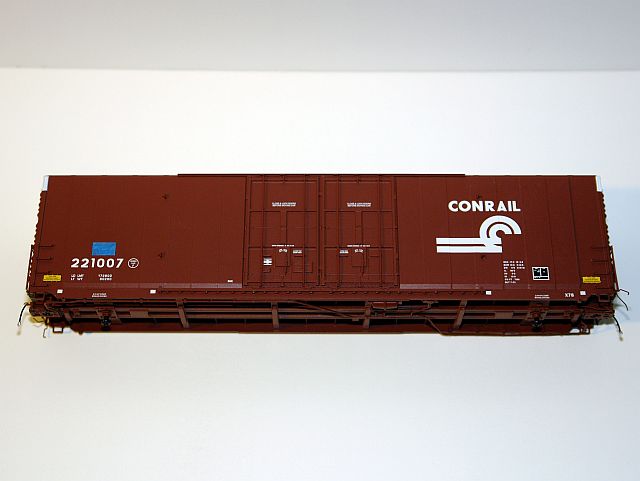
After removing the reporting marks, it was time to fade the paint a little. I masked a small area where the old reporting marks were, to create the illusion that they were painted over when patched.
Masking tape on the model prior to fading.
I faded the model's paint with a custom mixture of dullcote & Model Master Radome Tan. I use about 85% dullcote, and 15% paint.
I then masked the whole car, leaving the doors exposed. I re-painted the doors with a mix of Floquil boxcar red, and concrete, aiming to get a lighter color.
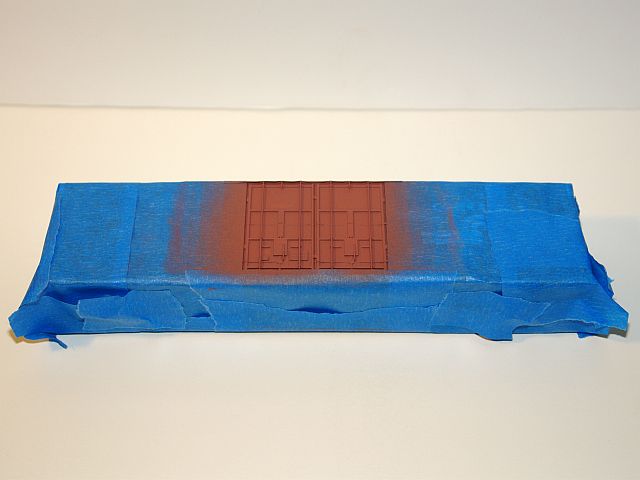
Doors masked, and painted.

Masking tape removed, notice the slight difference in color where the reporting marks should be.
Trucks:
The trucks and wheels were disassembled, and weathered. I use home made tools to hold the trucks, and sprayed them with a dark gray auto primer from Rustoluem. The wheels were inserted into the HO Scale 33” & 36” Wheel Painting Mask Side-by-Side Comparison, and painted Rustoleum Rusty Metal primer. After priming I sprayed them with various shades of my fade mixes.
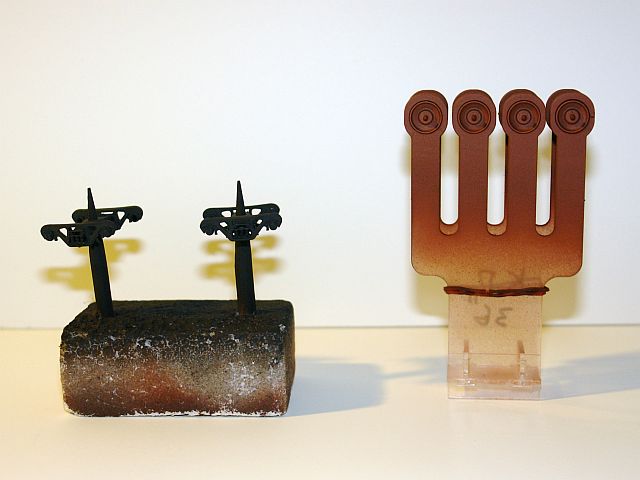
Trucks and wheels primed.
Rust work:
I then moved on to adding some distinctive rust marks. The doors one some of these cars have large rust patches. Even though the doors on my car were replaced/repainted, they're still rusting badly.
I began by dabbing on some Burnt Umber & Burnt Sienna artists oils. The ones shown here are the "Artisan" line of water mixable oil colours from Winsor & Newton.
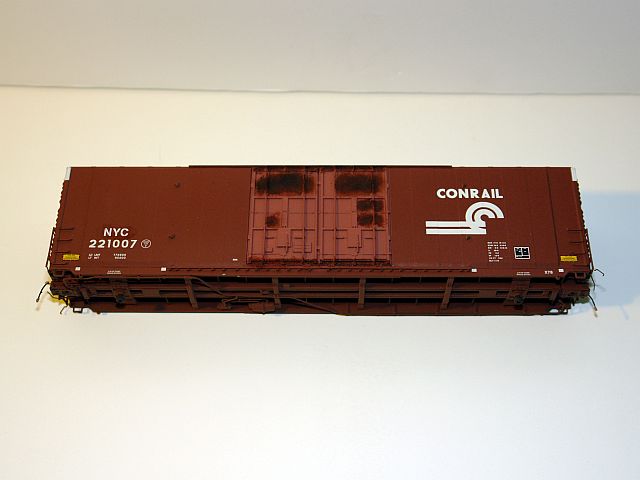
Large rust patches on the doors.
I then proceeded to add some horizontal scratches on the side of the car with a very fine brush, and the Burnt Umber artists oil. I also used some on the door tracks, top & bottom.
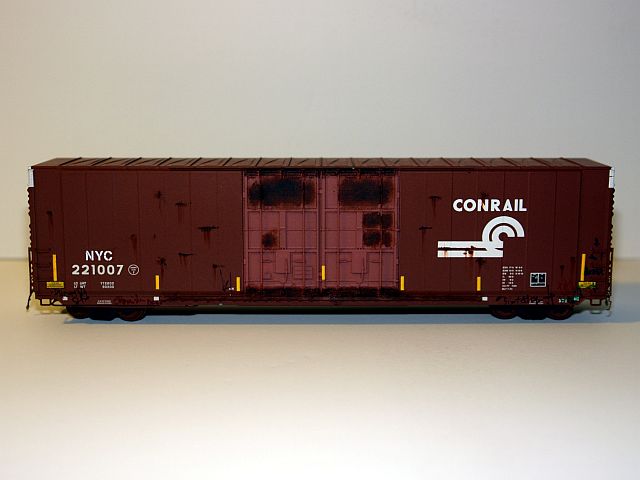
After a clear coat (Pledge with Future Floor shine works great here, dullcoat not so much), I made the streaks of rust running down from the scratches.
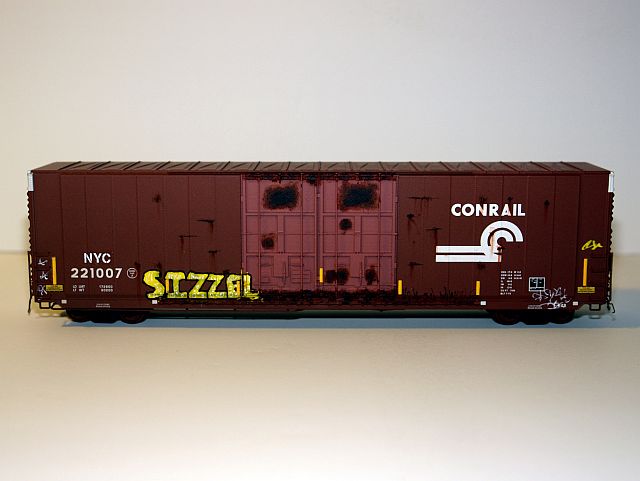
Another clear gloss coat to seal the oils, and on to graffiti. I added graffiti using a few different tools. The black was done with an ultra fine Sharpie, the white with a white gel pen from Sakura. The yellow background of the "SIZZEL" text was done with a Sharpie paint pen (available on Amazon.com from TCP Global, though I just picked mine from from the TCP Global retail location here in San Diego). I then accented it with the black Sharpie, and white gel pen.
Once the graffiti dried, I follow a two step process before applying the FRA reflective stripes. First I dullcote the car, let it dry over night, then re-spray the gloss clear. I do this because sometime the sharpie tends to bleed when I spray gloss over it.
Once glossed again, I applied the reflective stripes, from Microscale MC-4389. Two stacked vertically at the ends, and 5 in between. Once dry, spray with the gloss again to seal the decals. Once dry, it's time for the final dullcote, and the model it ready for assembly.
Additional articles for reference:
Prototypes for ExactRail's Greenville 60' Boxcar (COMING SOON)
Getting That Faded Look (Version 2)
Removing printed on lettering or numbers
Removing Factory Printed Letters or Numbers (Microsol)
HO Scale 33” & 36” Wheel Painting Mask Side-by-Side Comparison
Weathering A Boxcar Roof
© 2011/2020, Josh Baakko, https://www.modelrailroadtips.com