Layout Planning Lesson
Learning from a mistake in my layout planning.
A short lesson in testing your track plan in real life before committing to laying track permanently. I managed to short myself on round around space, and how I could have avoided it.
Recently I came to a revelation when running some test ops on a small portion of my layout. I had planned the main portion of the layout to include a passing siding, but since the layout ends yet the railroad “continues on” past the edge, I needed to use some of the space for a run around tail track.
I planned my layout using XTrkCad, and included what I believed to be a long enough tail track beyond the switch from the passing siding. Years later (two or so) I finally laid the track, but I was so elated that I failed to test fit everything. I now know that the tail track fits about 90 scale feet of equipment.
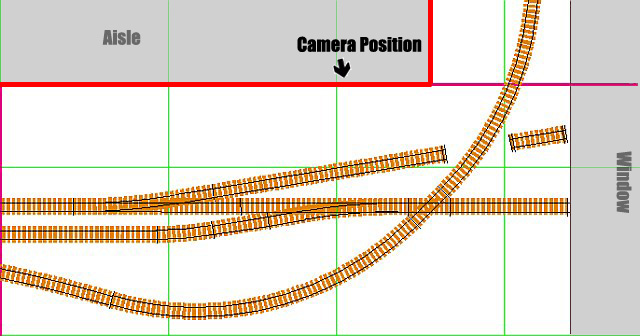
Layout plan from XTrkCad showing the erroneous area. The track shown in the middle with the two diverging routes is
the main, with the lower of the two being the passing siding, and the upper being an abandoned spur now used to store
MOW equipment. The track crossing the main is a spur to a scrap yard. It loops to avoid a large hill.
Hows does this effect me? Well, I cannot fit much more then one locomotive past the points, and still throw them. This effects my operating plan of pulling a local into the siding, and running around the two locomotives. I now have to limit all locals to one locomotive. The other option would be to run the local with two, but un-consist them once I arrive, to do the local switching.
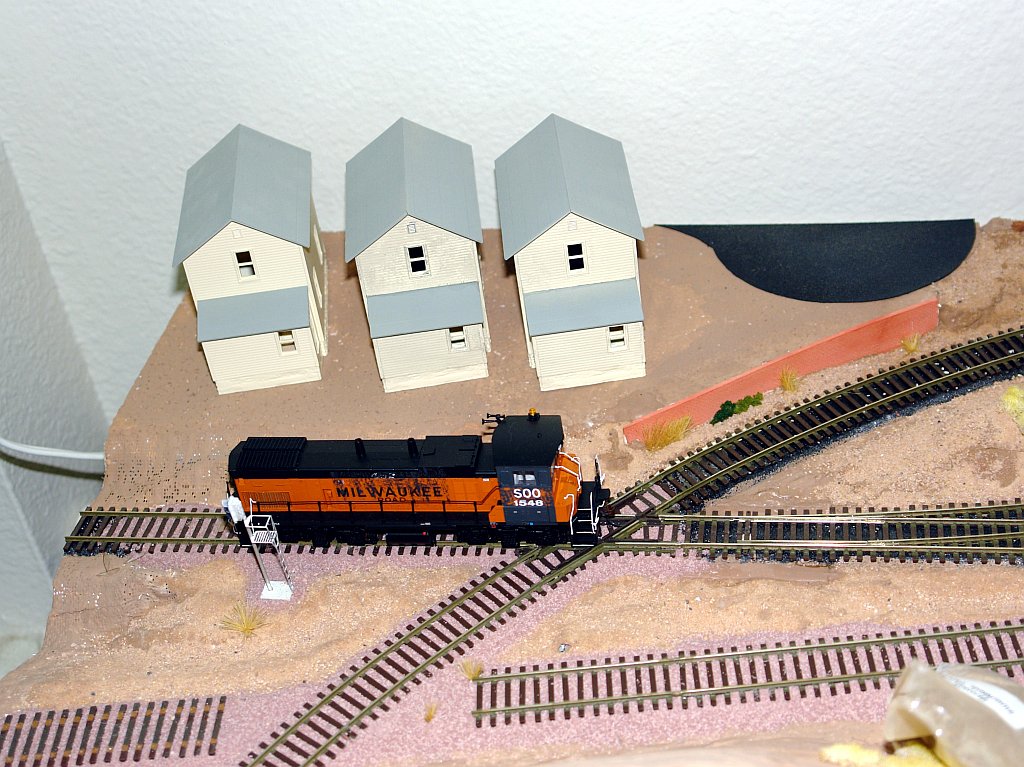
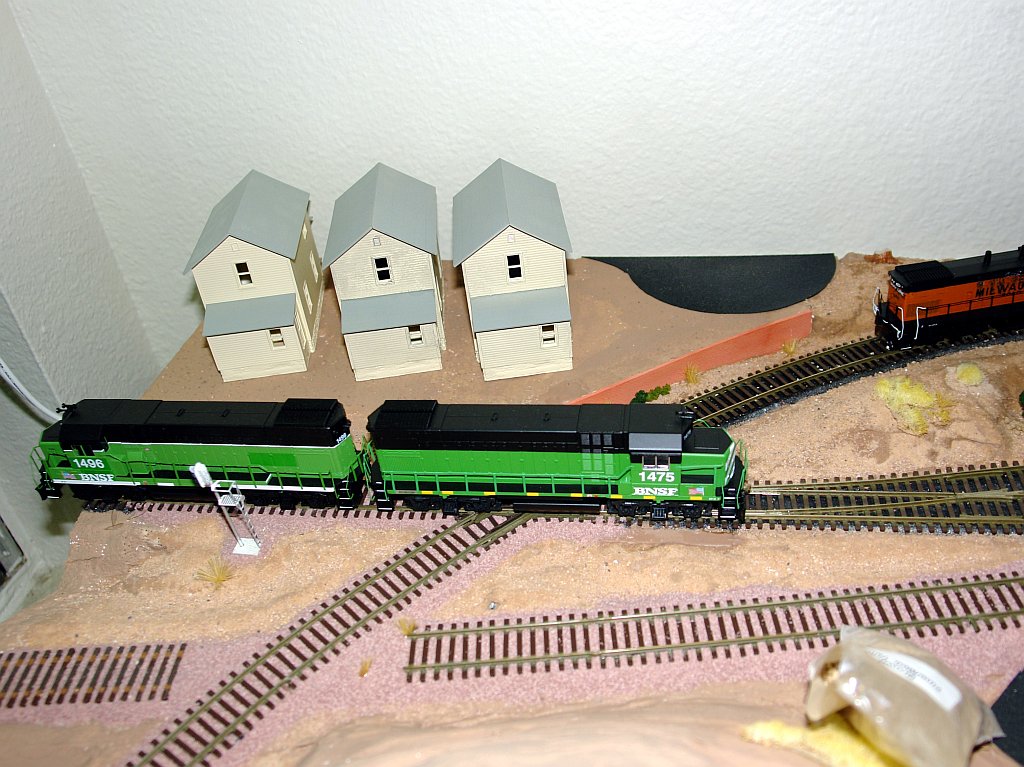
Shown below are two photos. The first shows the tail track (main) with a Soo MP15AC, note that it has some operating space. The second photo shows my smallest road switchers, two BNSF GP15-1's, which are closely coupled, using Sergent EC87A's. They measure out to around 110 scale feet coupled.
The only option remaining would be to extend a small potion of the layout into the window area, thus adding up to 50 scale feet of extra space.
Alternatively I could remove the switches and re-do the whole layout of the track in the area, however I'm quite satisfied with the way it works. I'm leaning on adding some extra to my layout... I'll write an article when I do [Ed Note, this layout has subsequently been dismantled and thrown away].
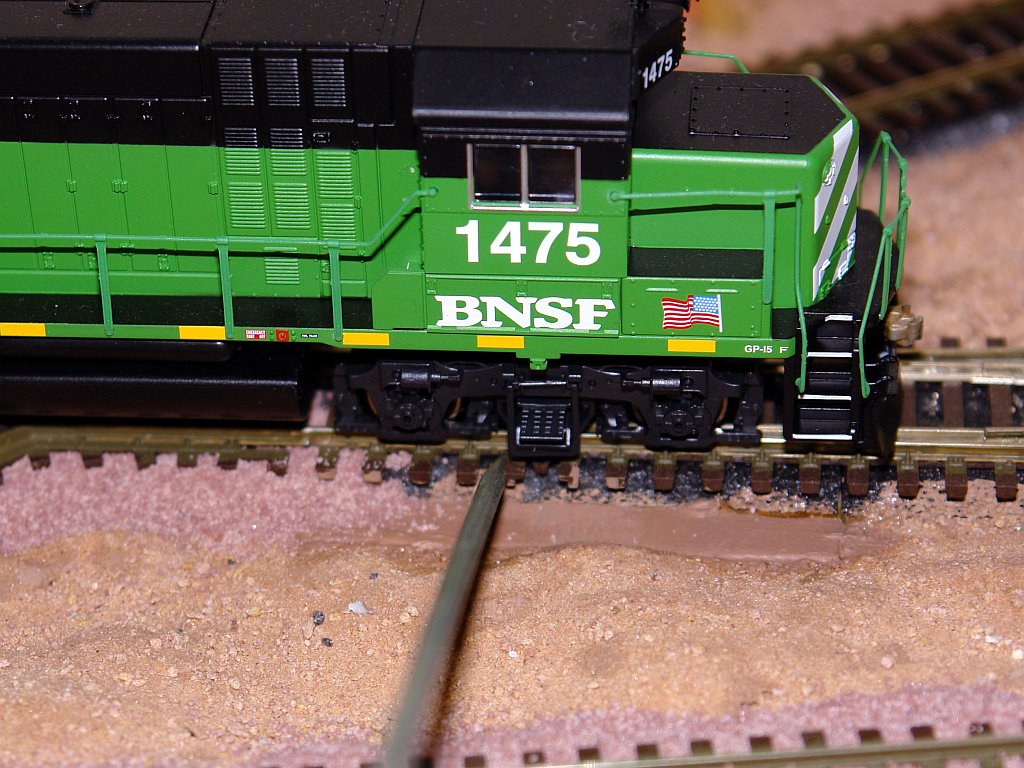
The rod in the middle of the photo relates to the end of the points. This shows the amount of space required. Notice that
if I had about an extra inch of track the last wheel would clear the points!
I hope that after reading this, you can avoid committing the same mistake I did. Take your time, plan out the track plan, then test everything before permanently laying ANY track!
© 2011, 2019, Josh Baakko, https://www.modelrailroadtips.com