Swapping a Cab on a Matchbox Real Working Rig
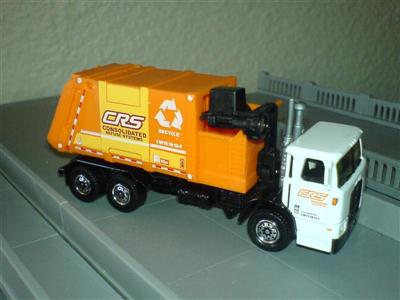
Matchbox created some decent close to HO vehicles with their “Real Working Rig” line. The trash truck is available in 3 schemes as of this article's publication. I chose to swap the cab on a Waste Management truck, for a Mack MR cab from Ricks Decals.
The Ricks Decals cab is a resin cast, solid cab, and it will need painting.
To get started, we need to remove the die cast Autocar ACX cab. Do to so, I removed the two screws found on the under side of the chassis, then drilled out the rivet holding the cab on. I used a 9/64th inch drill bit. At the same time, I also drilled out the two rivets that hold the rest of the chassis bottom plate on, near the rear of the chassis.
Once the cab is free, discard it. Save the exhaust and air breather. Remove the trash arm, by cutting away the “riveted” plastic from the underside of the chassis. Set this aside with the exhaust & air breather.
The chassis is too long for the Ricks Decals Mack MR cab. You will need to remove a considerable amount of metal. I recommend you use a cut off wheel in a motor tool, such as a Dremel.
First, mark off the center point of the wheel well. You'll need to make a cut straight across (cutting the well into two halves), make sure to leave just a little extra material on the rear half.
Now slice straight down the chassis frame rail, removing the front half of the wheel well up to the frame rail.
The front 7/16th or an inch of the metal chassis needs to come off as well. I cut across the frame right at the front of the rivet hole.
File everything smooth, then test fir the cab. Make sure it sits level, and square. The cab wall, and wheel well should line up halfway across the old wheel well.
File the outer edge of the wheel well down. You need to remove about 1/64th of an inch from both sides, to match the width of the new cab's wheel well.
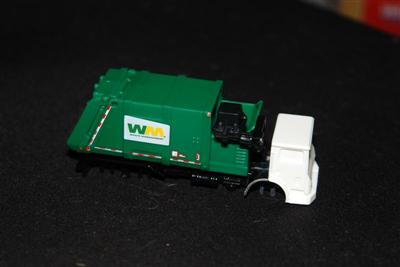
Once the well width matches, and the cab sits square, build up a small styrene frame on to tip of the chassis, to mount the cab on. The frame should be built to hold the cab square & flat, at the correct height to match the wheel wells (approximately 1/8th inch off the chassis).
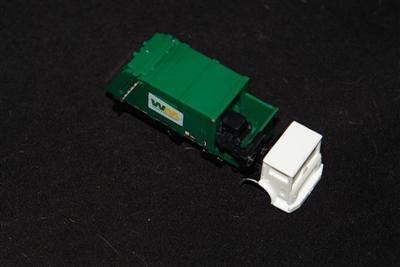
The conversion is 75% done now. You can paint the cab before installing, of install it and then paint it. The edges of the wheel well should be black. The cab should be white. Paint the windows dark blue, or black. The bumper should be black. The grill should be black, with silver “MACK” lettering in the center.
Re-install the trash arm with some CA. Remove the mounting tabs from, and then paint the exhaust and air breather. The exhaust should be mounted far to the passenger side, and the air breather far to the driver's side.
I plan on using wheels from Ricks Decals, to get the proper dual wheels in the rear. This means the large alignment tabs for the axles are too far apart. I cut mine off and filed it smooth. Insert the wheels with an axle (you can use the stock ones, or after market).
Now you can re-install the wheels and chassis base. As you can see, the Autocar ACX grill is attached to the chassis base, cut it off at the rivet hole. Once that is done, place the base in the frame, and use om CA to secure it.
Now you have a Mack MR trash truck! Hope you enjoyed this.
©2009/2020, Josh Baakko, https://www.modelrailroadtips.com