Creating Worn Trailer Mud Flaps
Tools
- Cutting the flaps
- Melting the flaps
- Painting the flaps
- Installing the flaps
Tools: This one is quite simple, all you'll need is a sharp knife, a pair of needle nose
pliers, and a lighter of your choice to do the "damage." Paint & a brush to finish the part
off and to cover up and burn damage, and the glue to attach it to the trailer is also needed.
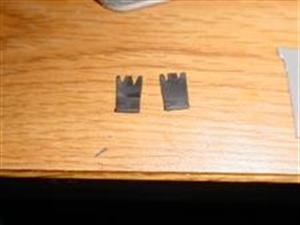
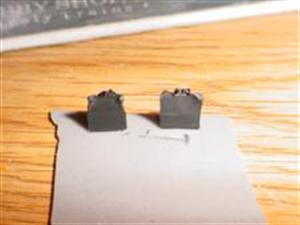
Cutting the flaps: On these flaps I wanted the tips to look as it they had hit the tires once
or twice, so with a sharp hobby knife (Xacto works), notch the flap to your liking.
Remember to not go too deep as the melting process will do some of this for you. You
can choose to lave this step out to make the flaps look to be blowing in the wind.
Melting the flaps: Holding the base end of the flap with the needle nose pliers, heat up
the end of the flap with the lighter. In my case I choose to hold it with the side I want it
bending towards (I.E. the rear of the trailer) upwards as the heat and the melting action
will cause it to bend that way. Once I get it to a shape I like, I let it cool. Some flaps
require minor trimming with the hobby knife so that there will not be large balls of
plastic, but rather a "bent" flat flap.
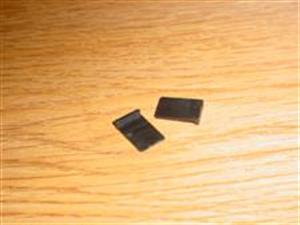
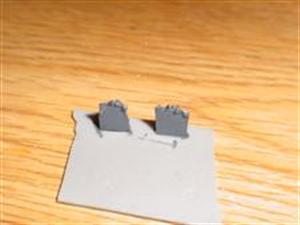
Painting the flaps: To paint, I stand the flaps upright with the base stuck onto double
sided tape on my painting table. The flaps in this article happen to be painted with Polly
Scale Tarnished Black, to make it look like a faded, dirty, worn flap.
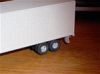
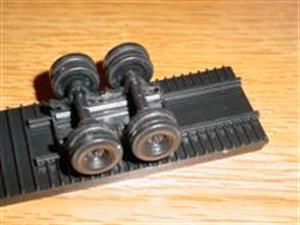
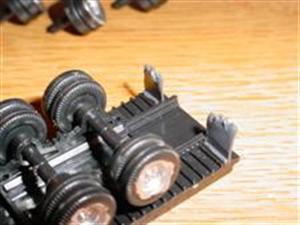
Installing the flaps: Now you glue them in place on the trailer, in the position that works
the best for you. Most prototype trailers have the flaps attached to a metal rod extending
from the positional wheels. On this trailer I just mounted them as far back as I could.
© 2006, 2019, Josh Baakko https://www.modelrailroadtips.com