Construction of a Railflyer Model Prototypes Chassis Bundle
Since the Railflyer bundles do not come with instructions I'm placing this article online. It should aide in the construction of a frame bundle.
If you have not yet heard of the Railflyer project, then you're missing out! Railflyer is slowly releasing a full modular kit of sorts, to construct a full, to scale, 1:87.1 diesel locomotive. This article will be accompanied by a number of other articles as I collect the parts from Railflyer, allowing you a online "instruction" of sorts.
The Frame / Walkway Module + Scale Profile Fuel Tank Bundle is the "main" bundle needed to start a locomotive. To order one for yourself head on over to Ebay and see if there are any popping up!. You can order a frame to model the GP38/39/40, GP38AC, GP38-2/39-2/40-2, SD38-2/40-2. Canadian wide cabs were included. The frames should work for SD45-2, F59PH/PHI and GP50, however Railflyer does not make additional parts for those, as of November 2008.
This bundle consists of frame/walkway module, and a fuel tank module.
Fuel Tank
I assembled the fuel tank first. I used Barge cement along the ribs of the fuel tank to attach the weight.
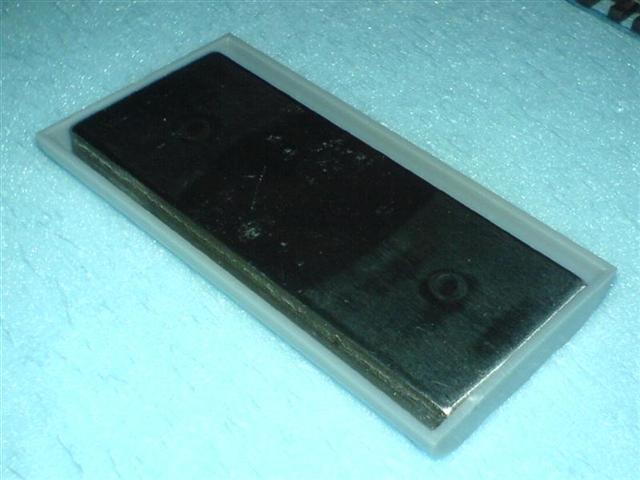
I then used my tungsten kit from Gary S. to add a little additional weight. This step is not included with the Railflyer kit, but I figured I'd include the thought.
Cement the top of the tank on. I used a good layer of Testors liquid plastic cement. I then taped the sections at the ends to keep it secure while it dried, and added a weight resting on top.
Now comes the tricky part. Bend the two sides of the etched metal tank top to match the profile of the top of the fuel tank. Using MEK mixed with Barge to make a thinner adhesive, or, some sort of slow curing adhesive, attach the etched metal tank top. Use a healthy amount of tape to secure it while it dries.
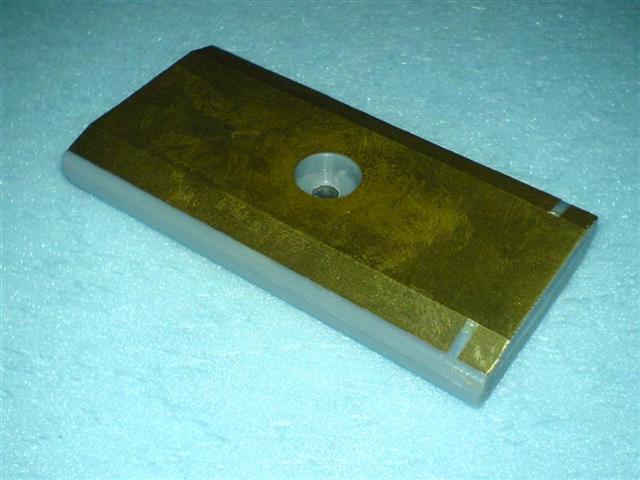
Attach the etched metal ends using the same process as the top. The ends might require some minor squaring, but don't over do it! The roughed up side of the etched metal ends goes inward. This time you can use miniature bar clamps, or a small quick clamp, or just the tape method to secure the parts while the adhesive dries.
The frame halves can be fully assembled now, or partial assembled, as I did. Doing the job halfway allows you to add ditchlights later on, when we attach the pilots. I used Testors liquid plastic cement to attach the bolsters to one half of the frame. Make sure they stay square! They have a lip to the top so it would be beneficial to prop the halves of the frame together while the cement dries.
The frame is now "complete" as far as we should go with this one basic bundle. Now to move on to the Detail Parts Bundle (Coupler Plate, Pilot, Steps, Jack Pads, Tread-plates), or Under-frame Detail Bundle.
©2008/2020, Josh Baakko, https://www.modelrailroadtips.com